Context
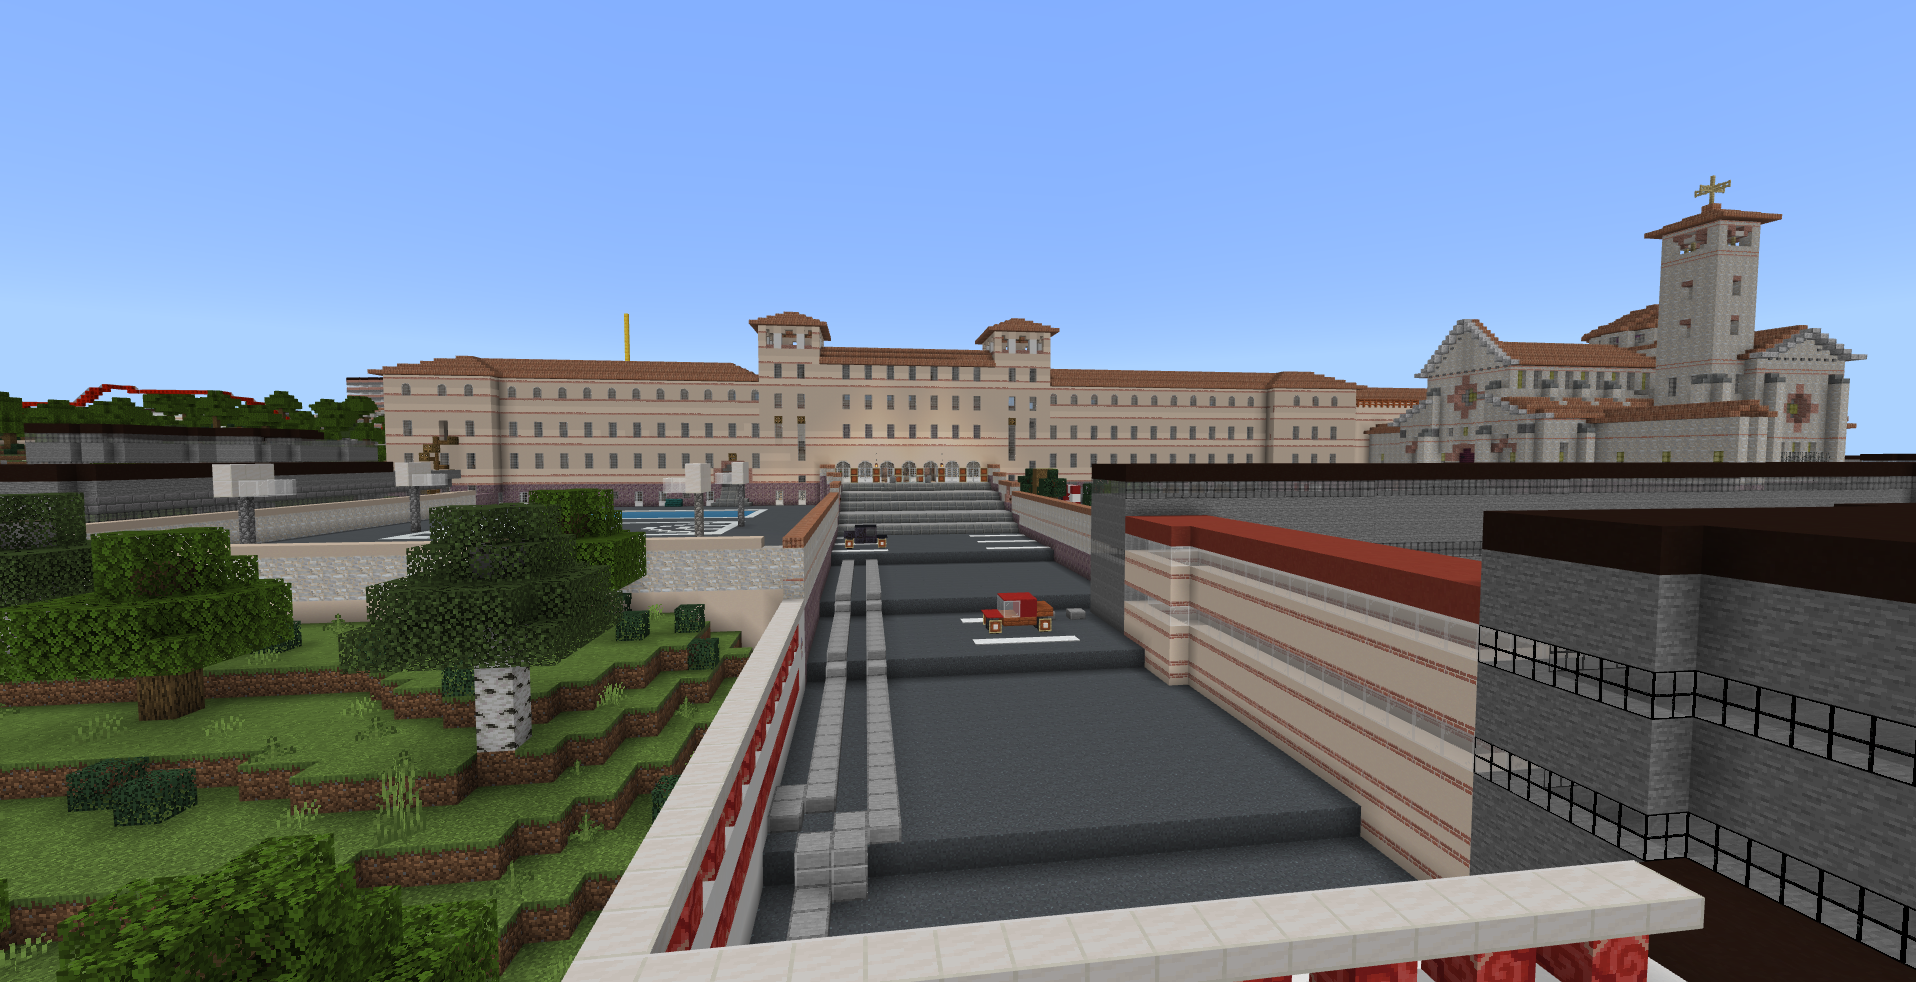
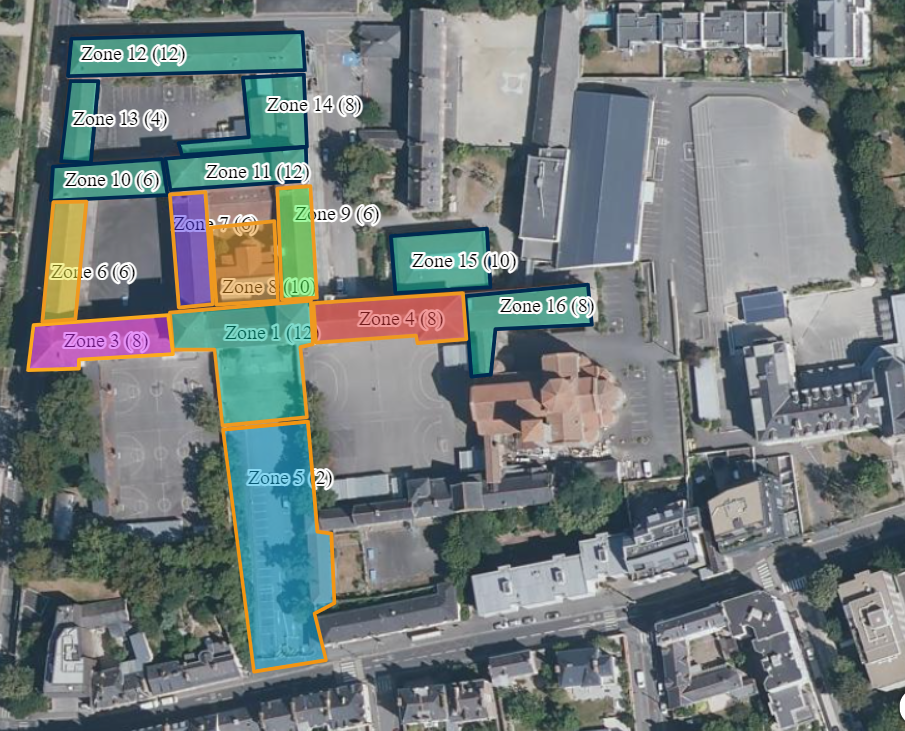
As part of the fifth-grade Technology classes, about a hundred students were able to contribute to the reproduction of their school in Minecraft: Education Edition. The buildings were divided into 8 construction sites, each under the responsibility of about ten builders.
I explain why I chose Minecraft in a previous article: Reproducing Buildings with Minecraft in Class – Stéphane Cloâtre (legtux.org)
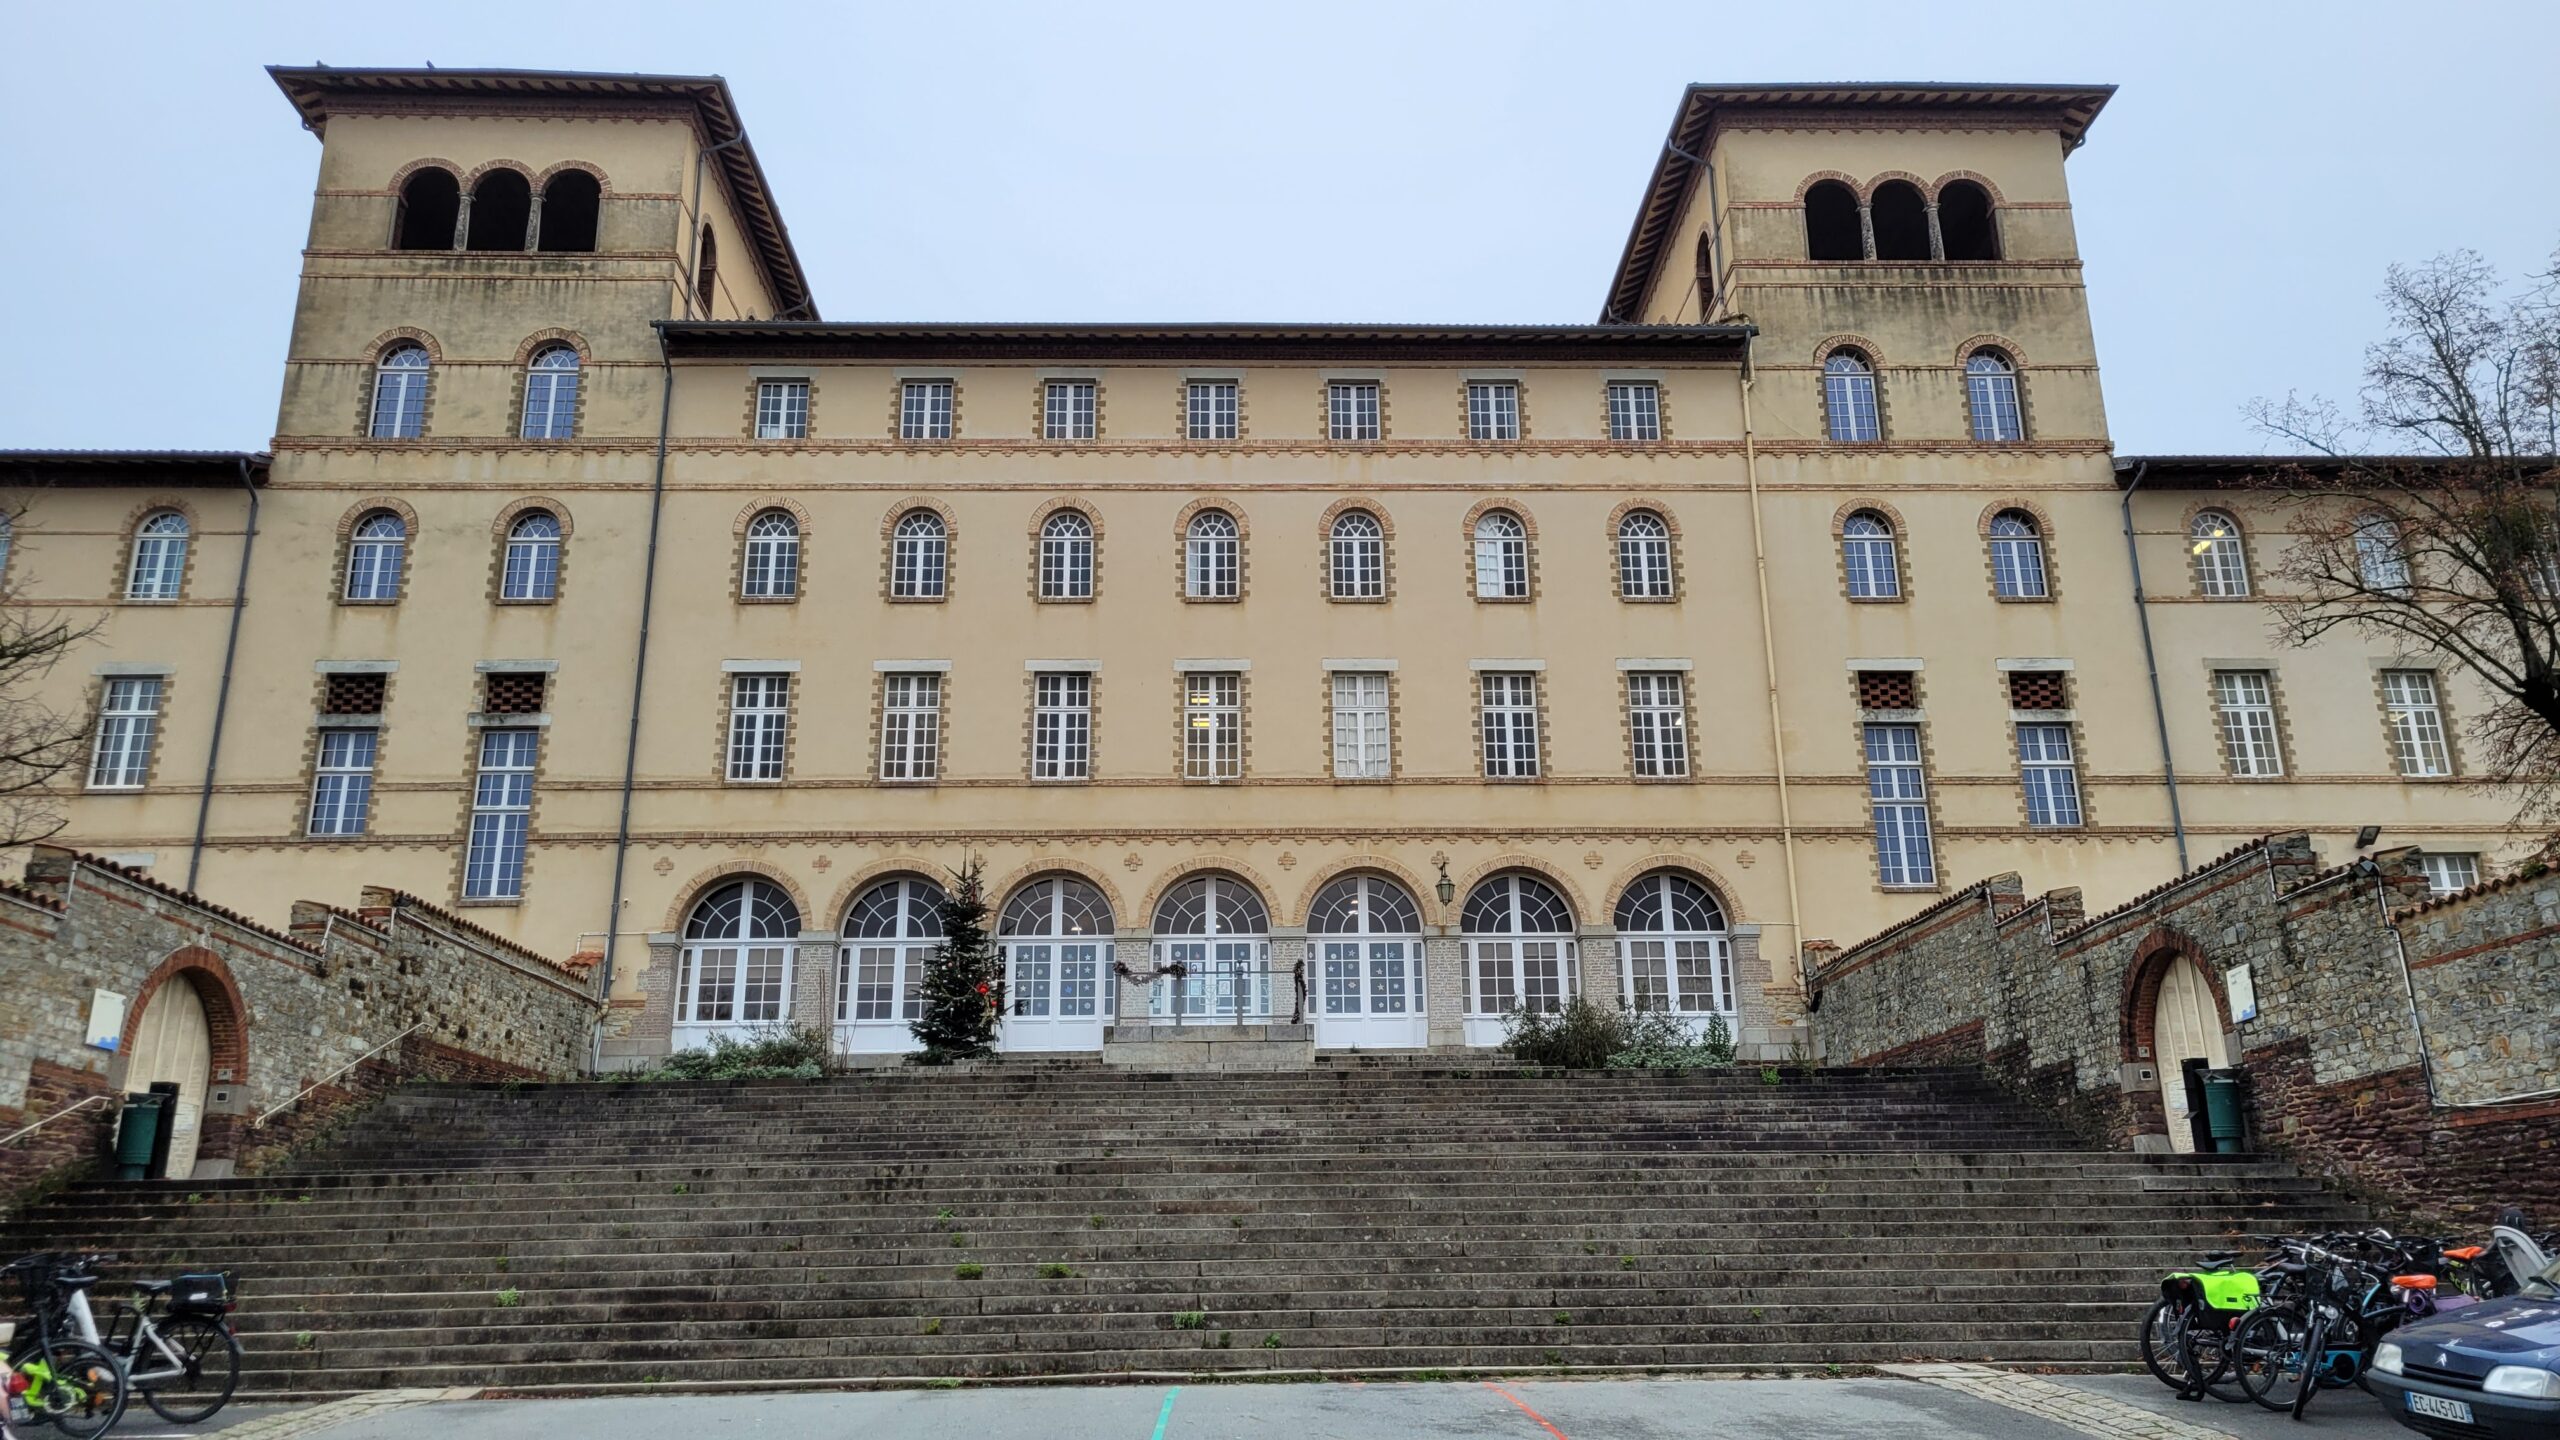
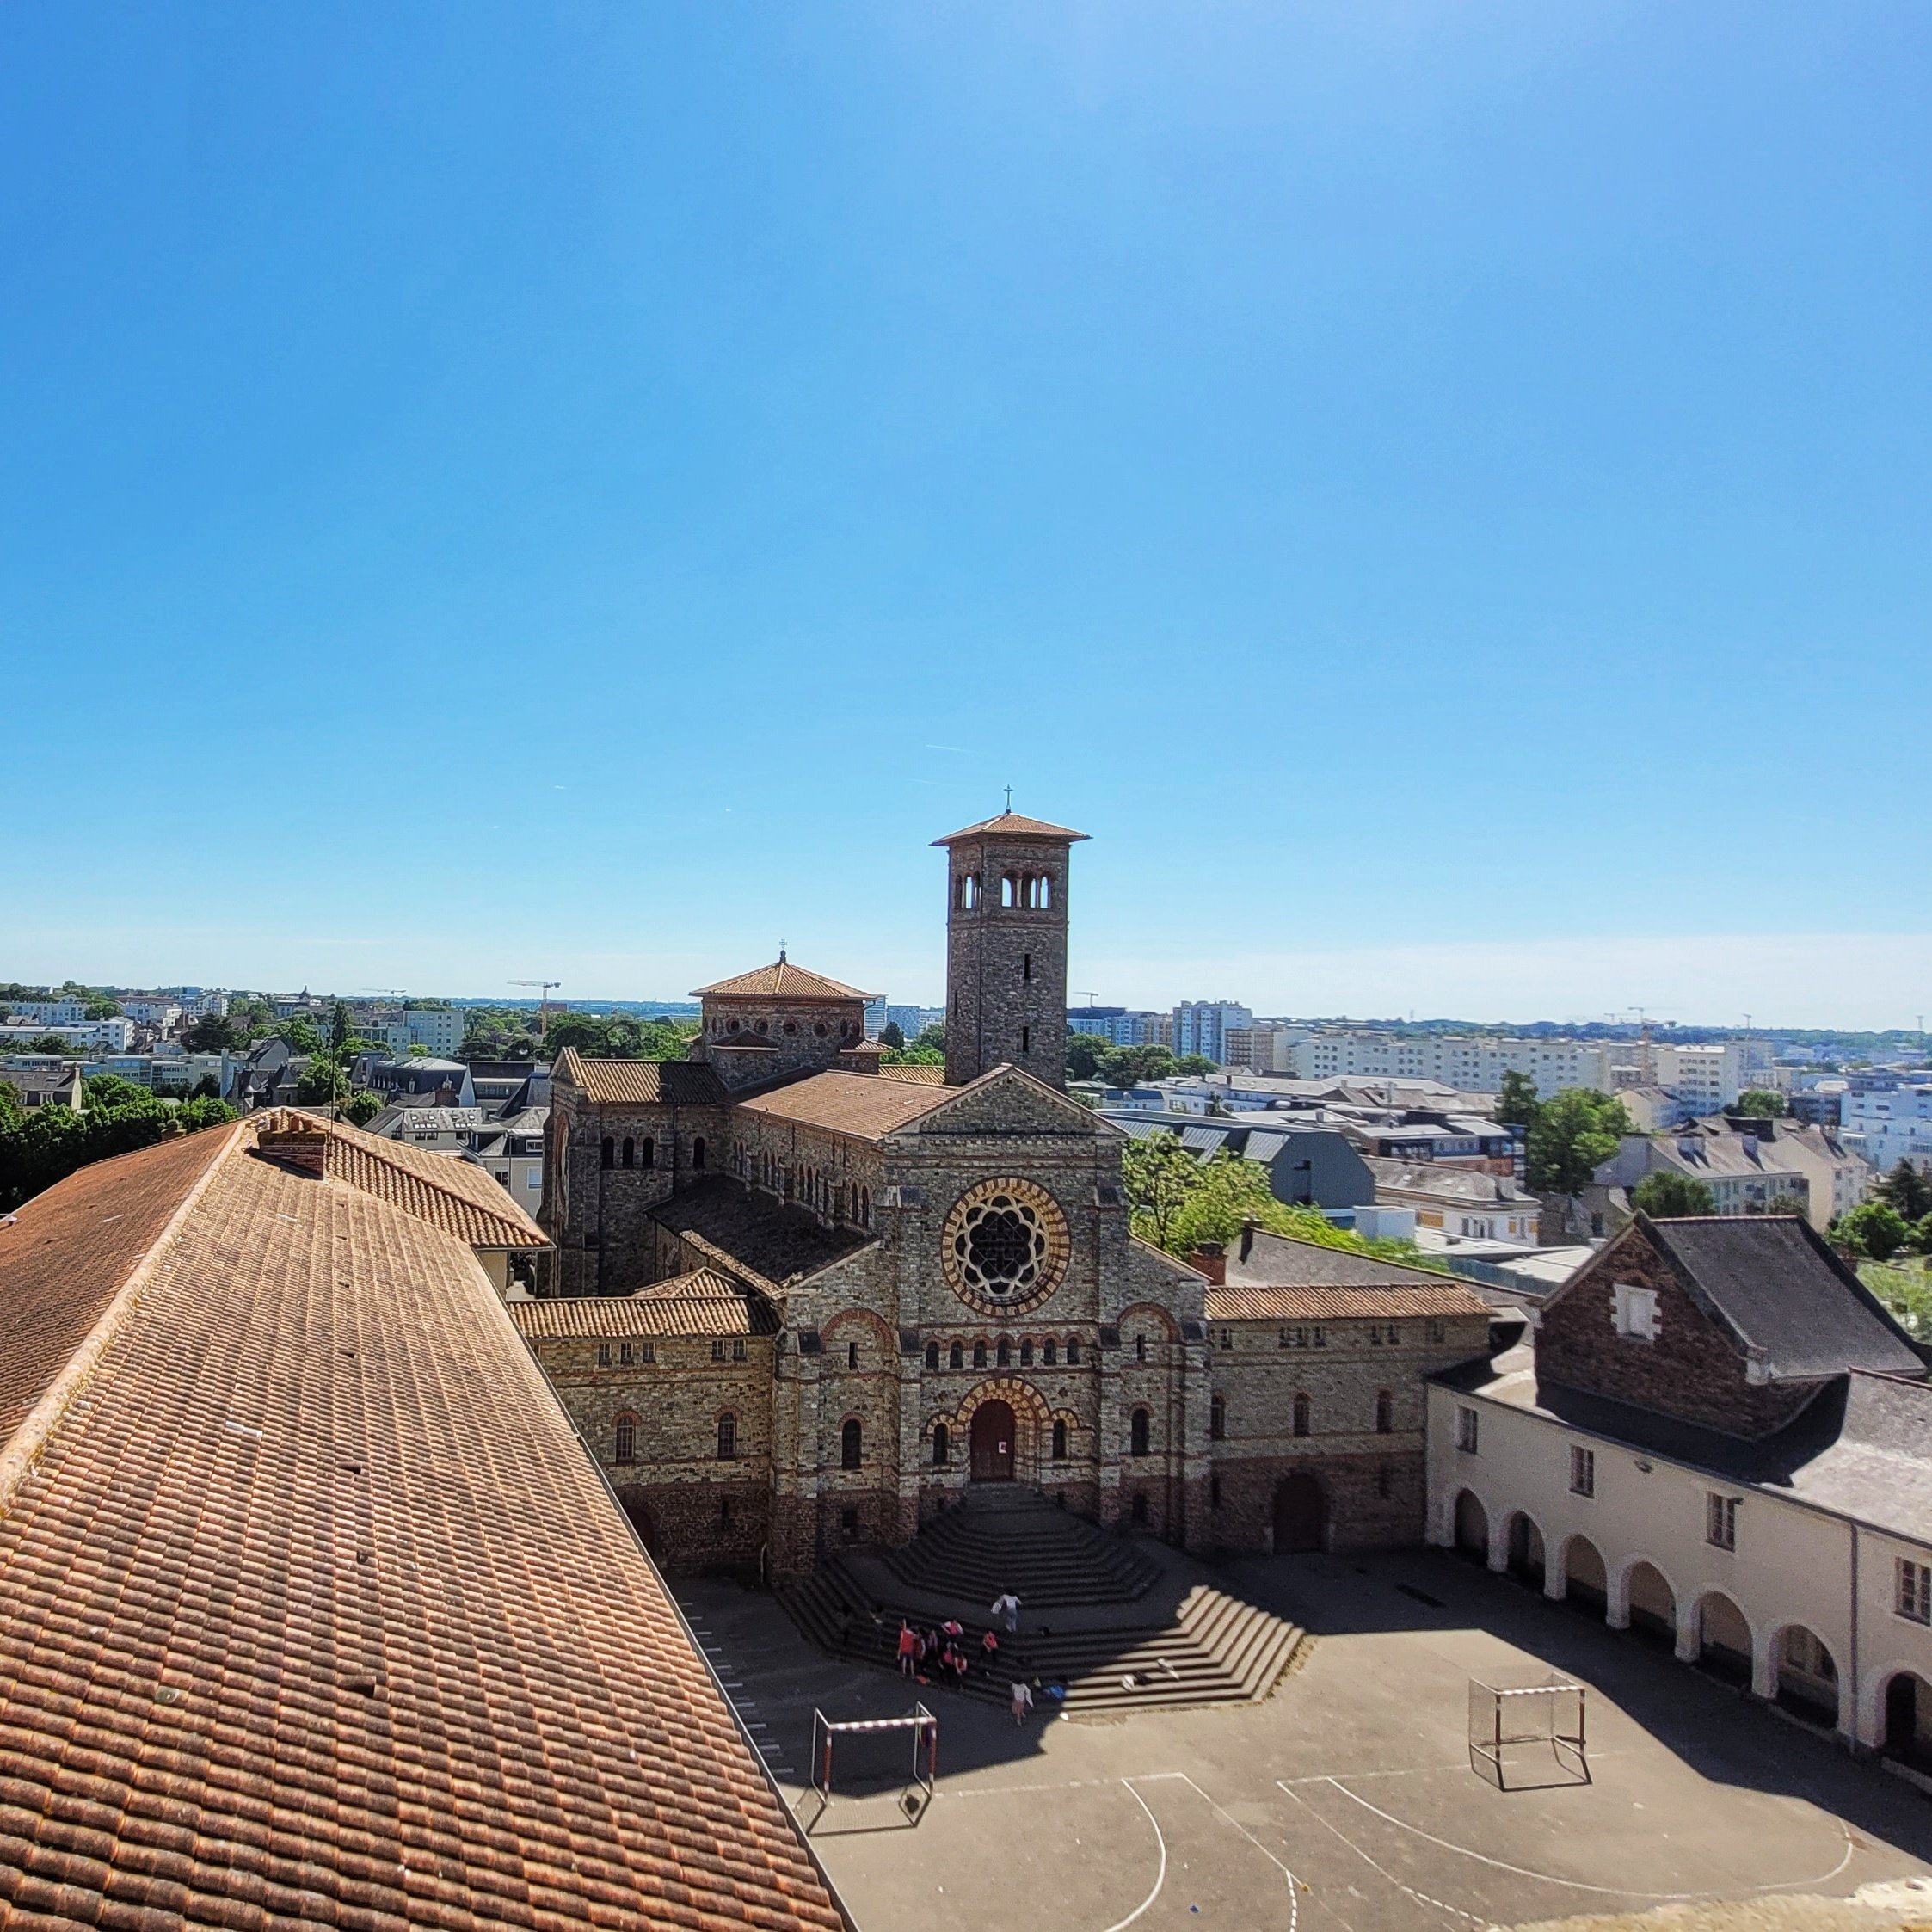
Saint Vincent School is located at 57 rue de Paris in Rennes.
Process
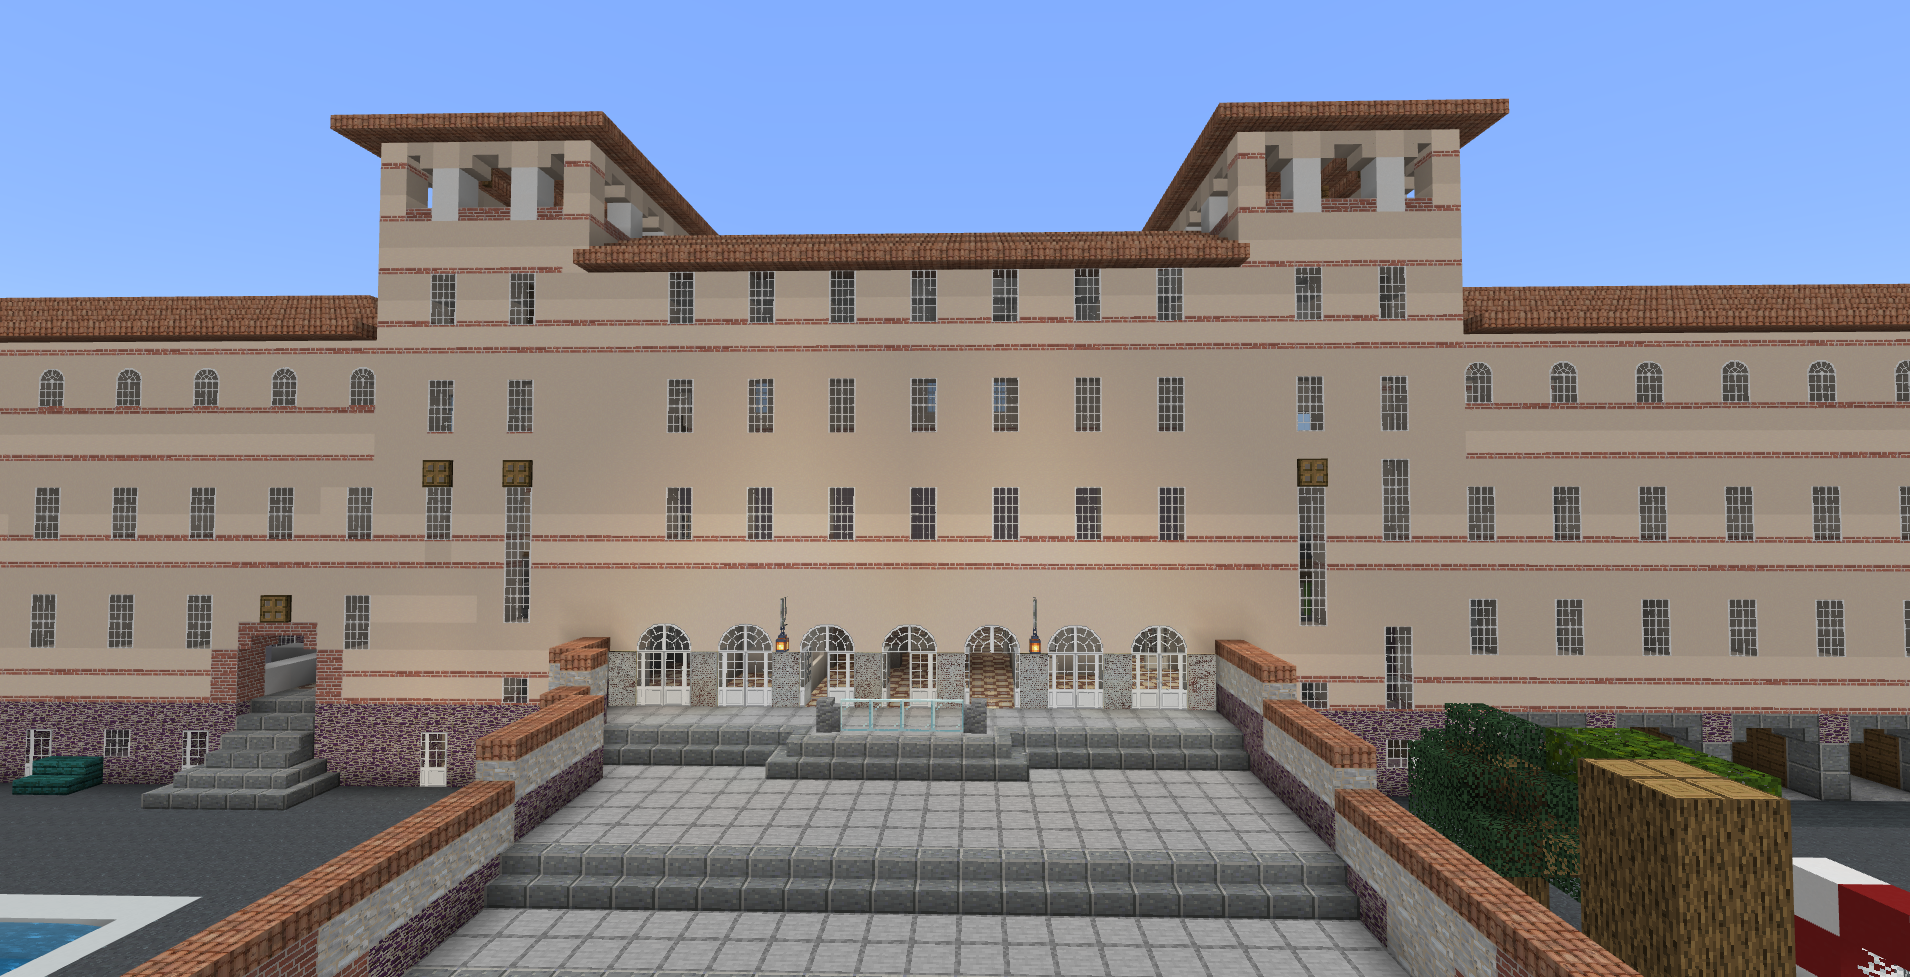
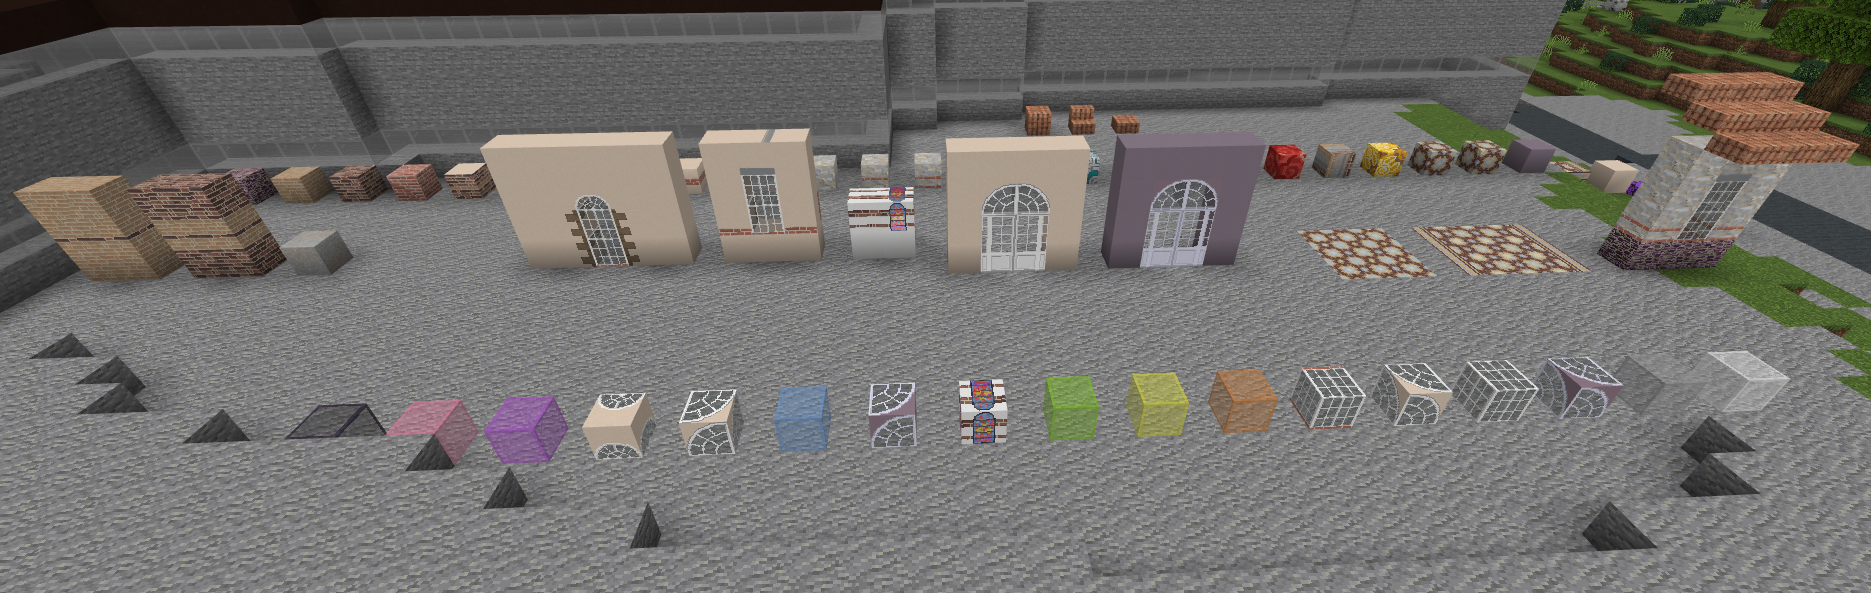
The project took approximately 10 hours per student, including 4 hours in Minecraft itself. For this occasion, I developed a specific resource pack that accurately reproduces the appearance of the materials used (purple schist, gray sandstone, tile patterns, etc.).
👉 Step 1: Introduction to Minecraft, how to reproduce a real building in Minecraft?
Here, students, regardless of their knowledge of the game, follow a course that allows them to discover the different steps we will follow. The analysis of shapes, dimensions, and the Minecraft plan are already completed (these are examples they can refer to later). They must therefore follow the instructions and the plan to build step by step in pairs: one student builds, the other gives instructions (co-pilot). The roles are switched every 15 minutes.
Skip to PDF content👉 Step 2: Introduction to architectural styles, the Tuscan neo-Romanesque style
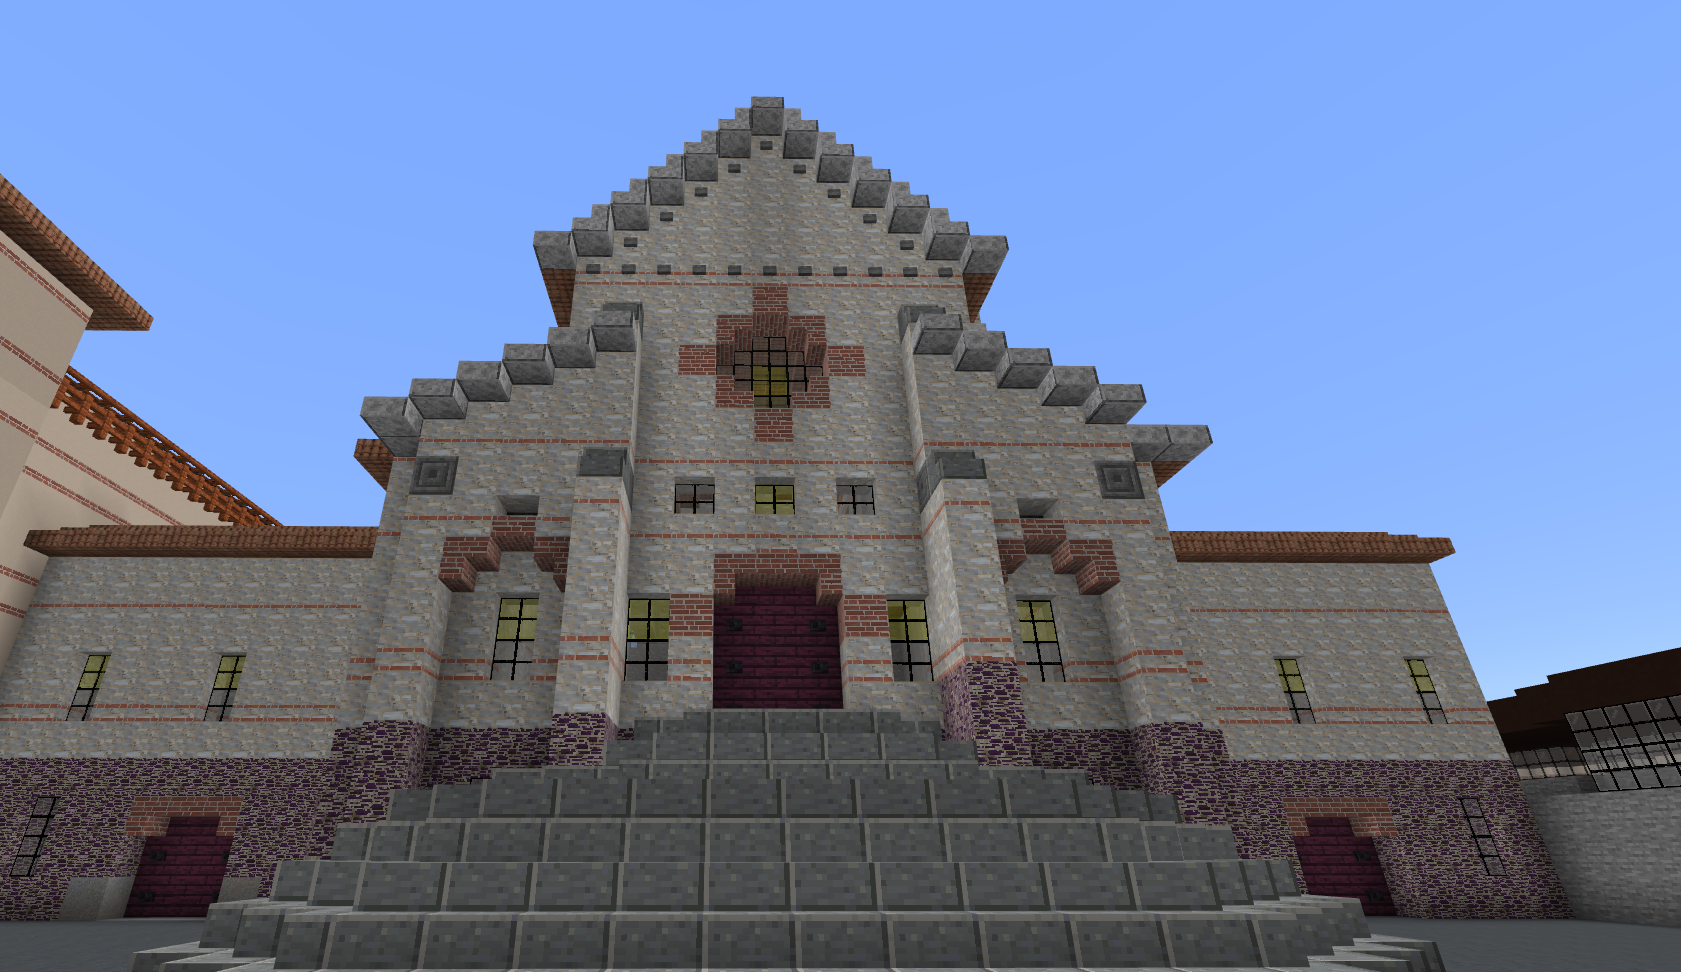
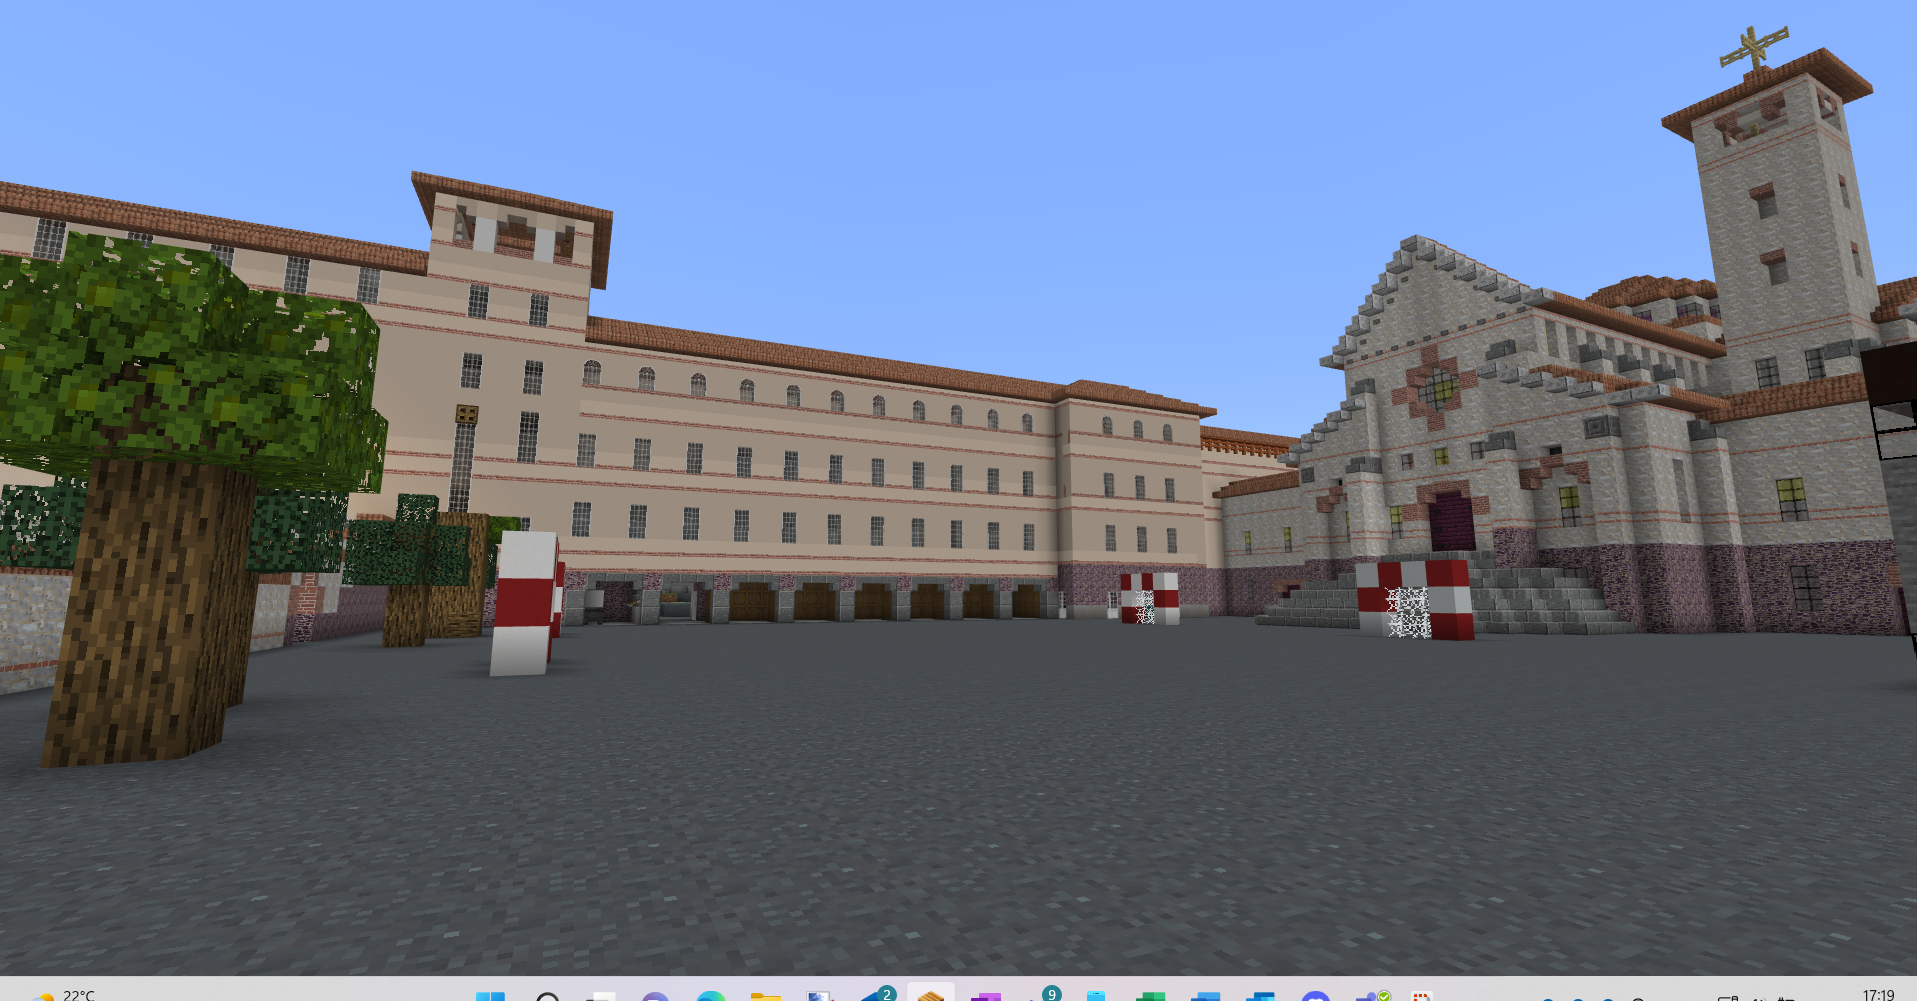
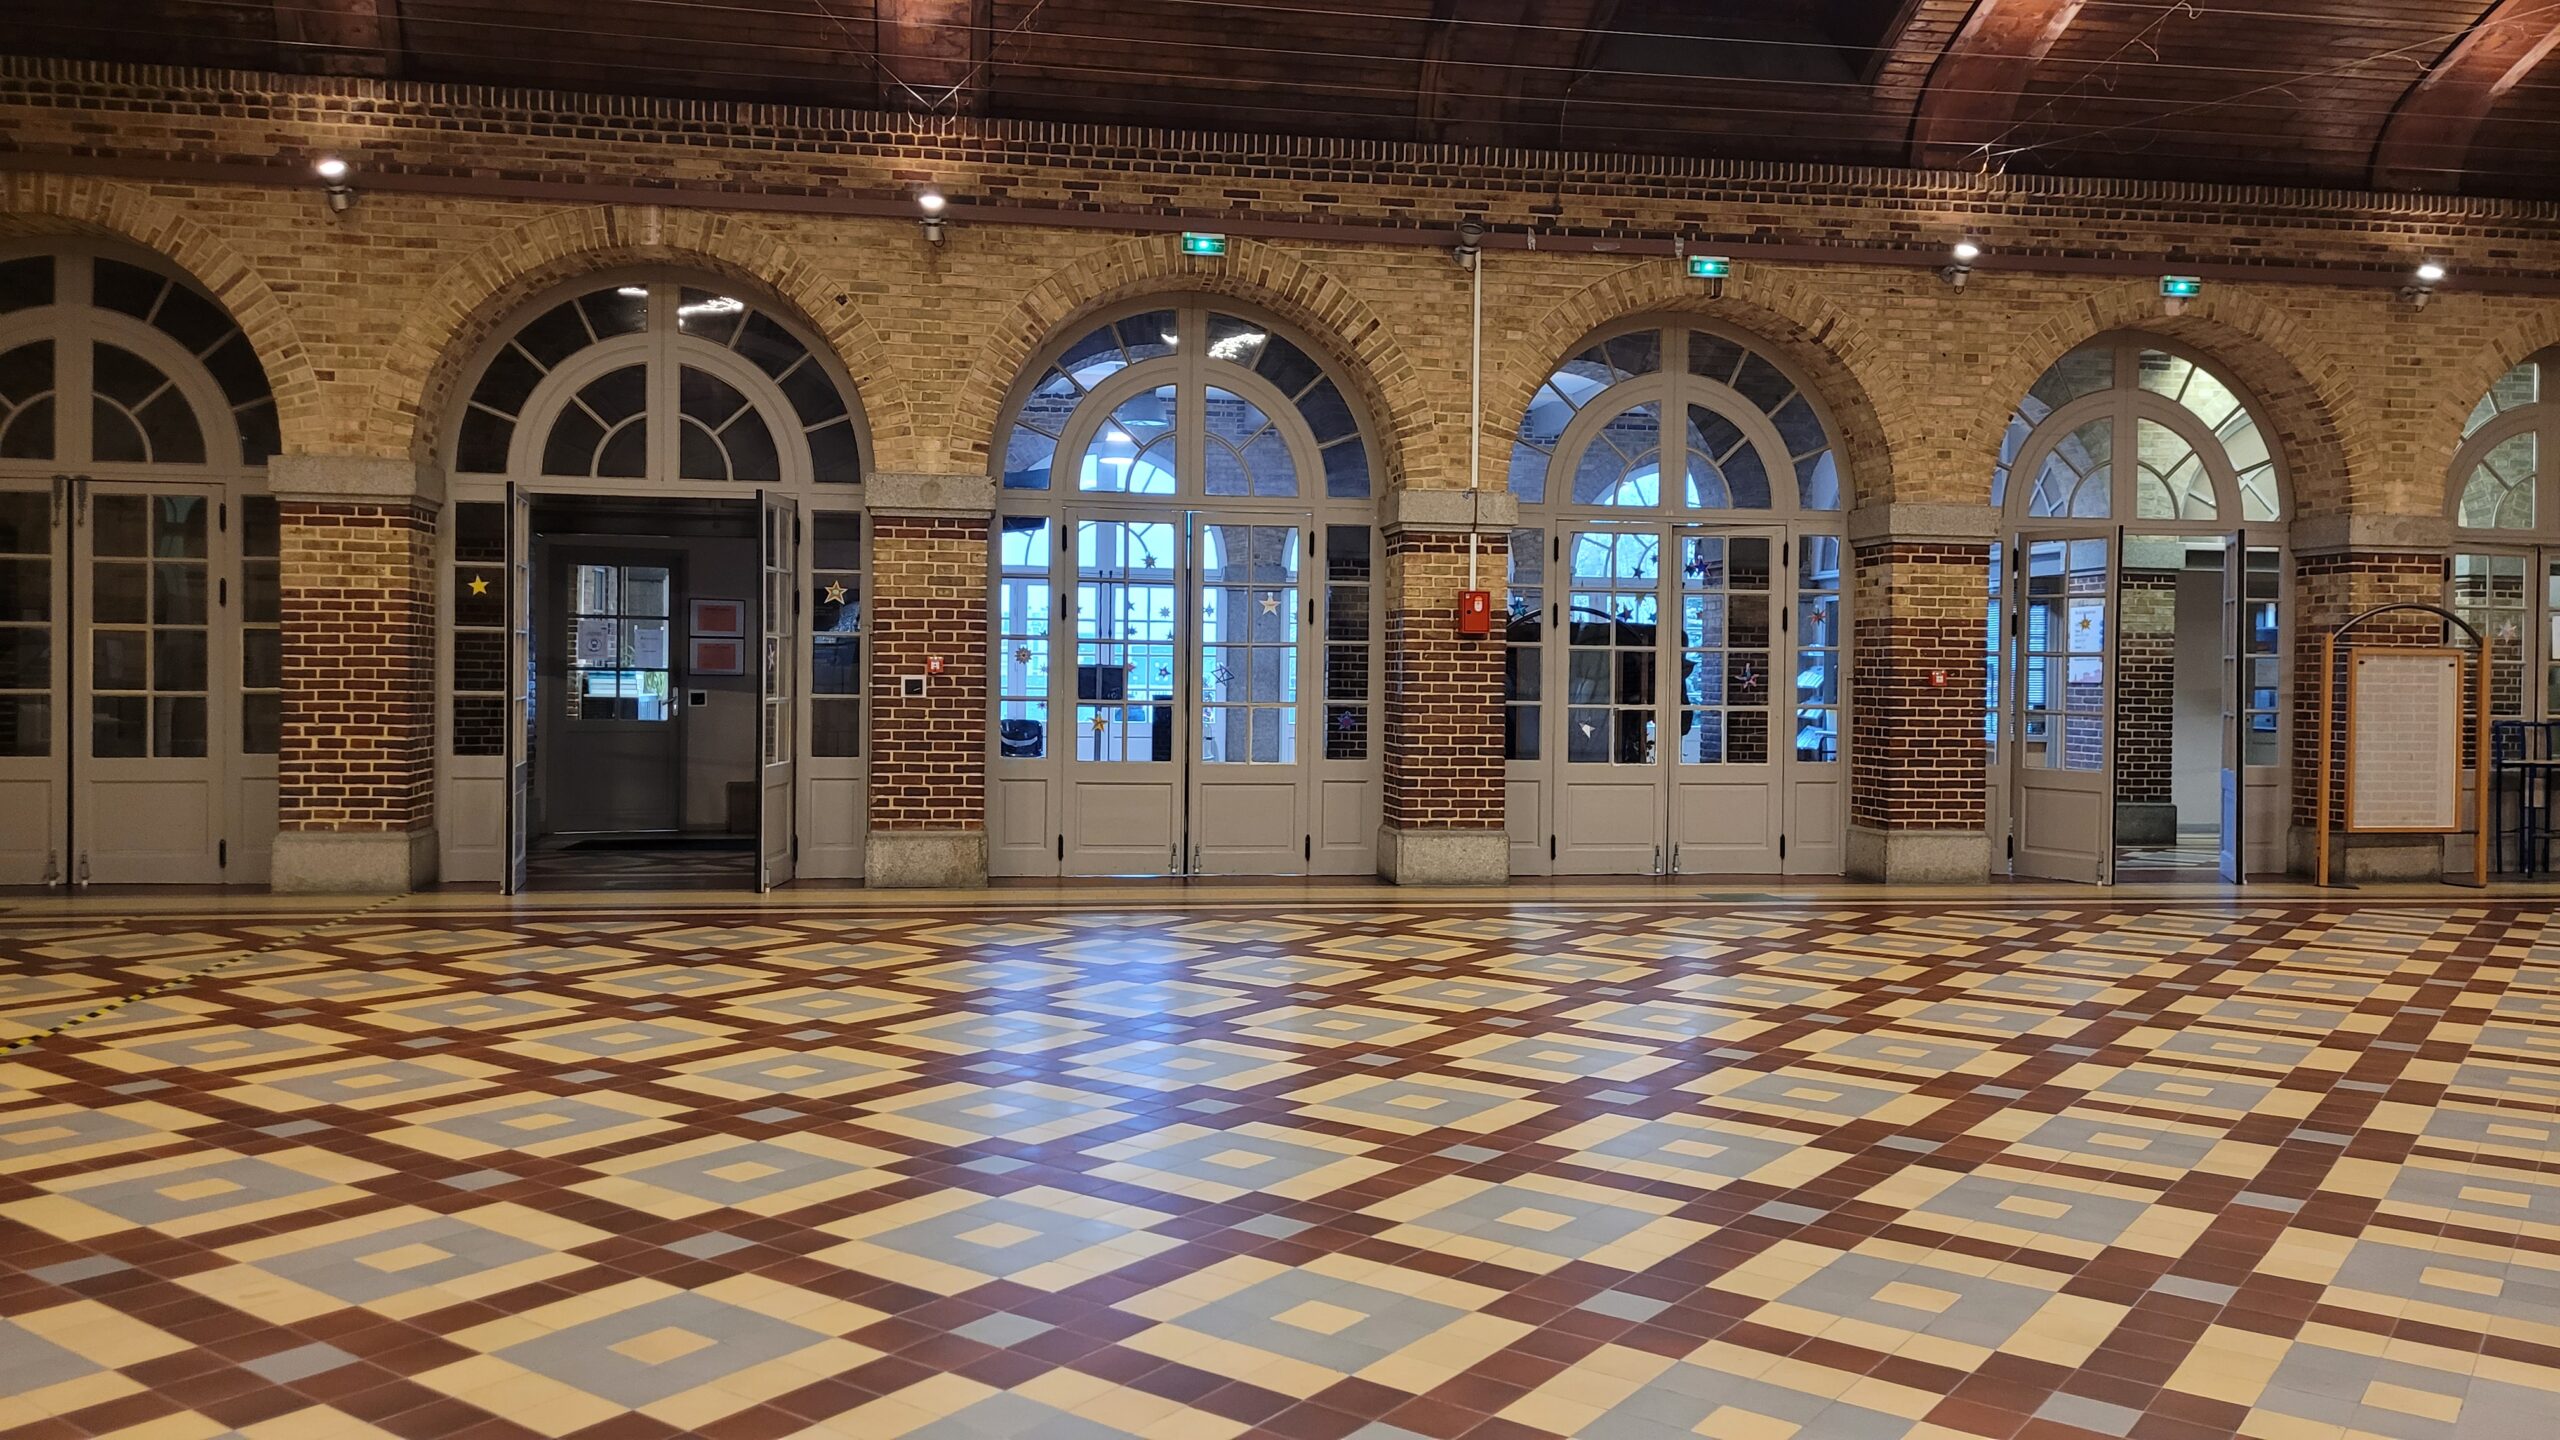
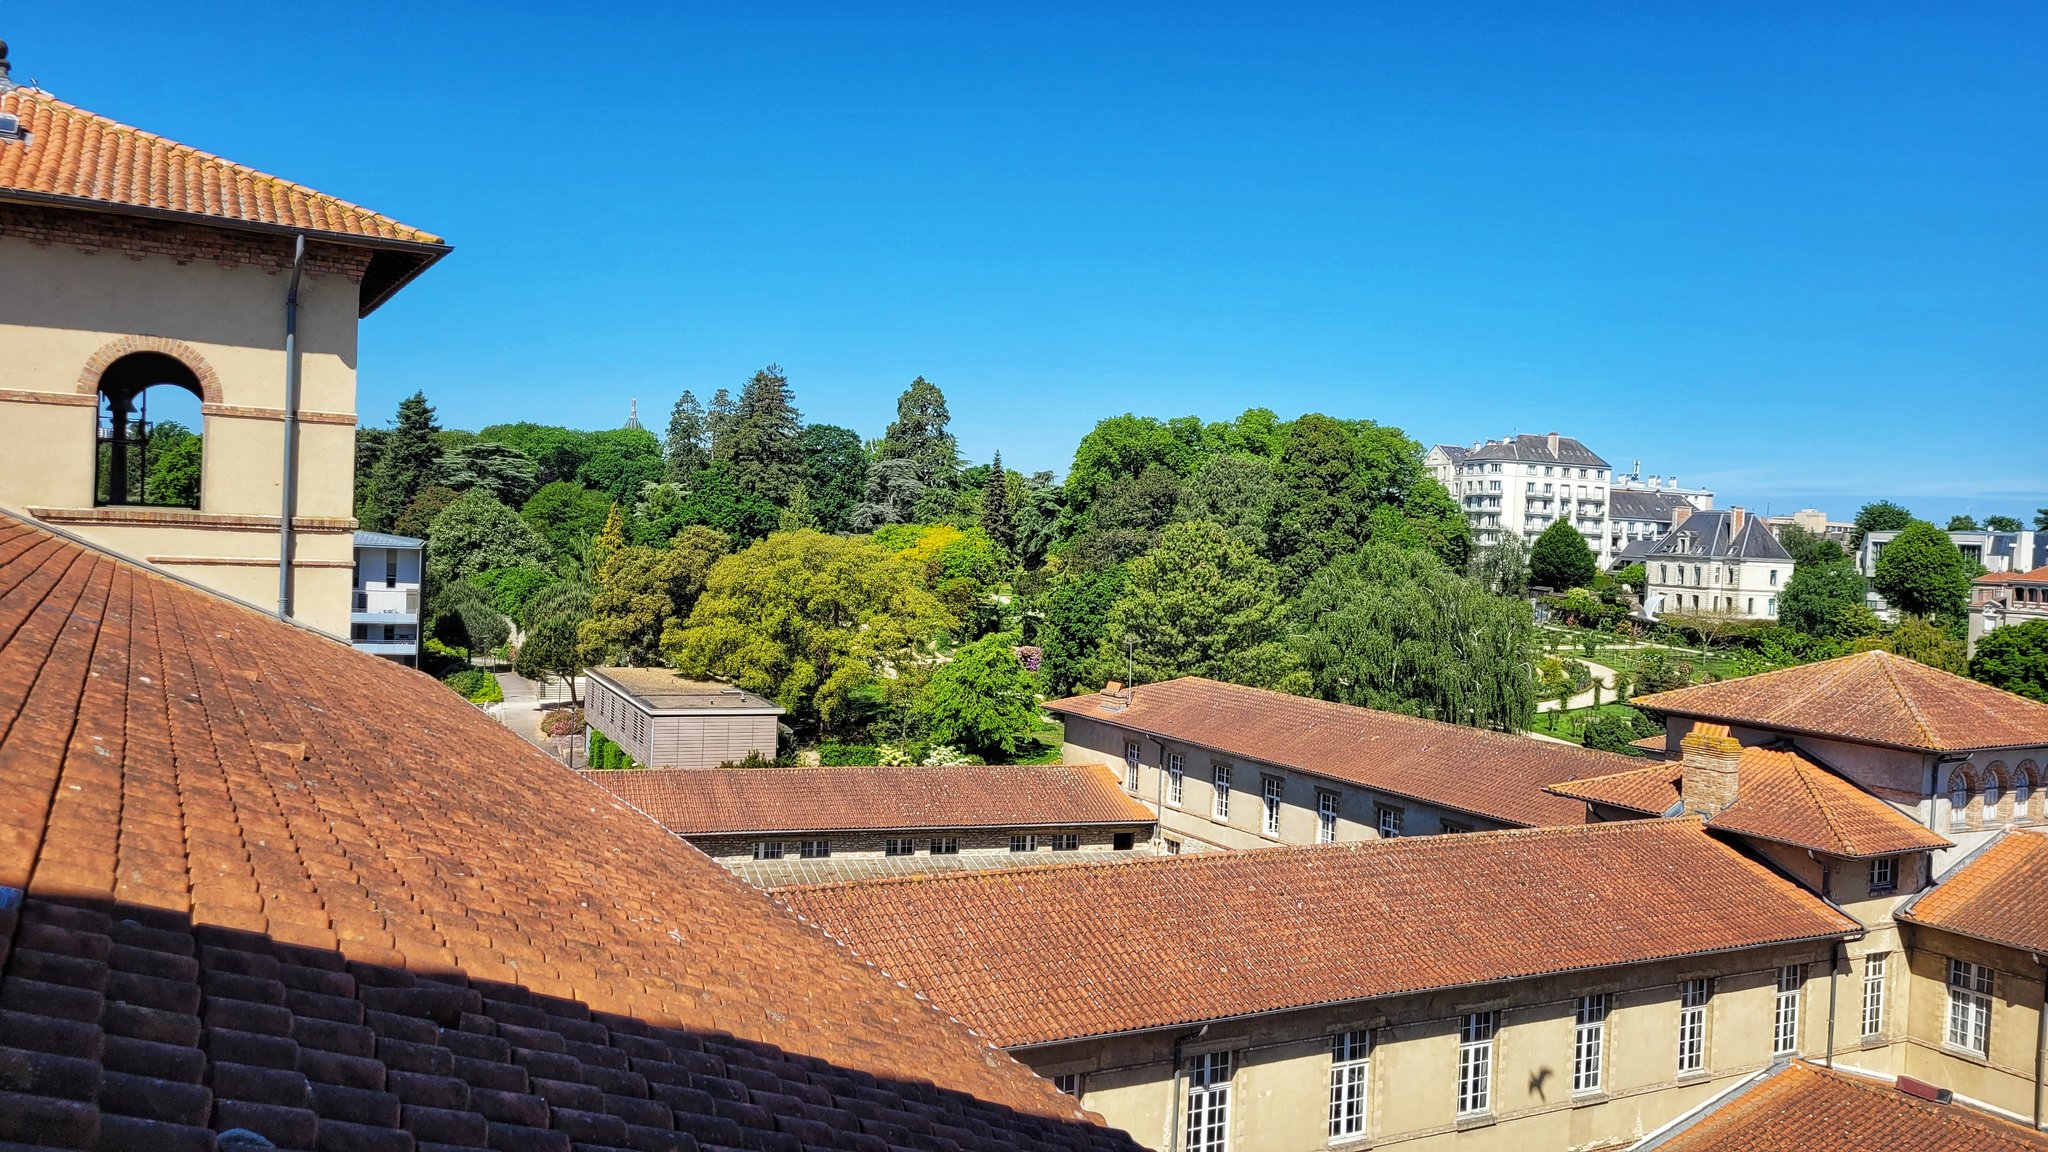
The buildings of Saint Vincent are truly remarkable; they are a piece of Italy in the heart of Rennes, on the edge of the Thabor botanical garden.
Students conduct research on the characteristic features of the Tuscan neo-Romanesque style and learn to identify it on other sites in France. The main architectural styles throughout history are also presented.
Skip to PDF content👉 Step 3: Functions and technical solutions of the buildings
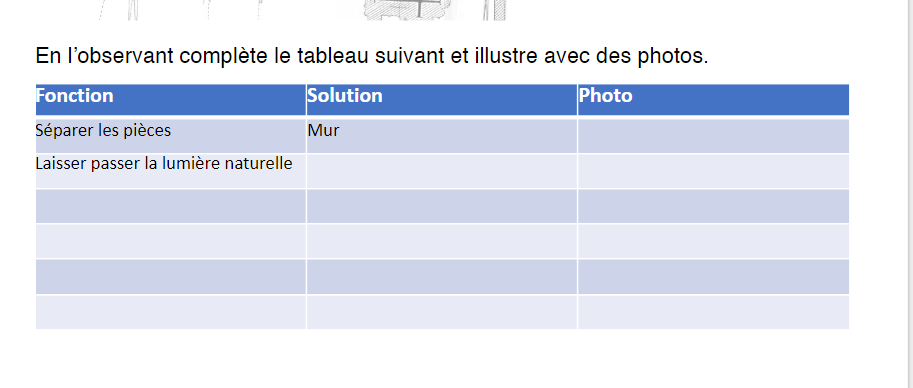
The concepts of need (e.g., producing electricity/nuclear power plant), technical function (e.g., letting in natural light), and technical solution (e.g., window) are reviewed through an activity sheet.
Students then go on an observation mission with their tablets to take photos and identify as many functions and technical solutions as possible for the building they will have to reproduce.
👉 Step 4: Recognize and identify construction materials
Skip to PDF content👉 Step 5: Task distribution by groups and creation of plans
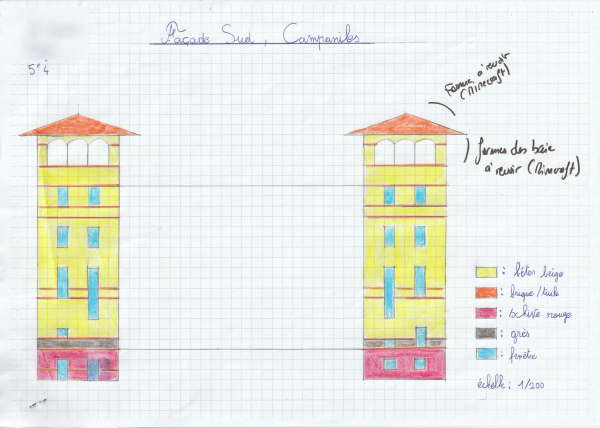
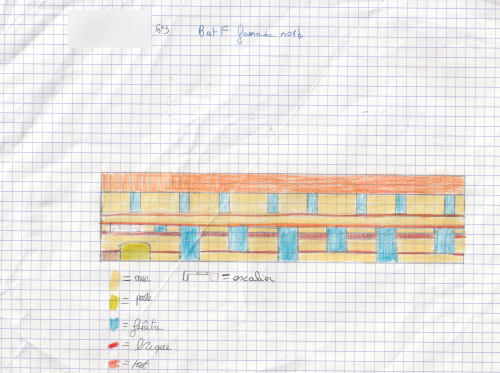
Students were assigned to a building in groups of 4 to 6. They then received excerpts from the school’s architectural plans, usually at a 1/250 scale. Each student was responsible for a floor or facade and had to draw a “Minecraft” plan on graph paper with: legend and materials, scale, and colors. The plans were evaluated.
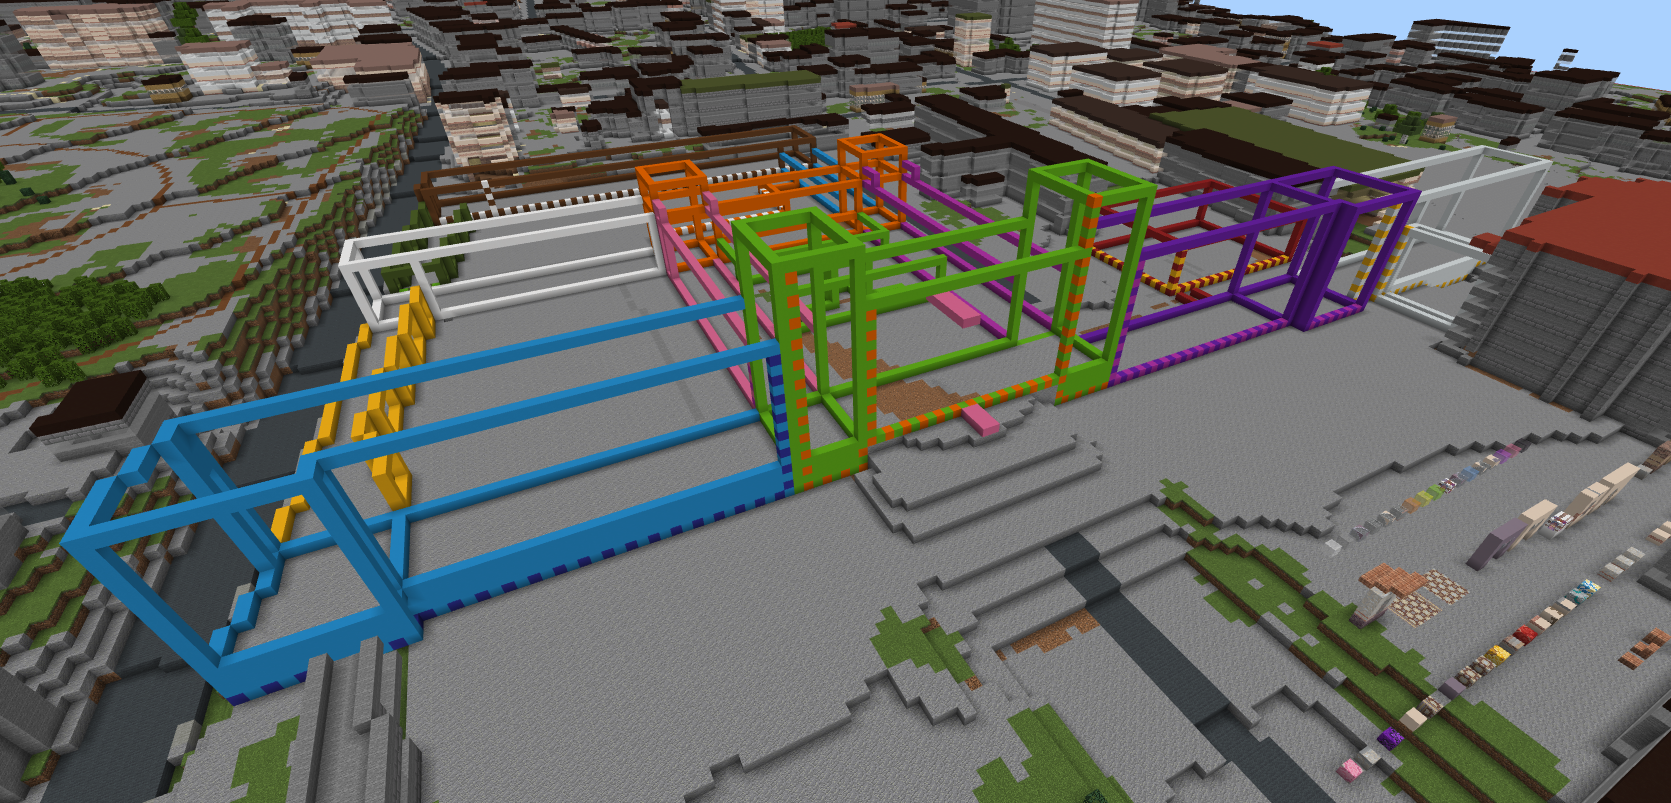
👉 Step 6: Construction in Minecraft
Students then built autonomously for about 4-5 hours. Construction meetings were organized at the beginning and end of each session to review progress and address any issues. Materials and the resource pack were displayed in front of the building to help groups make their choices.
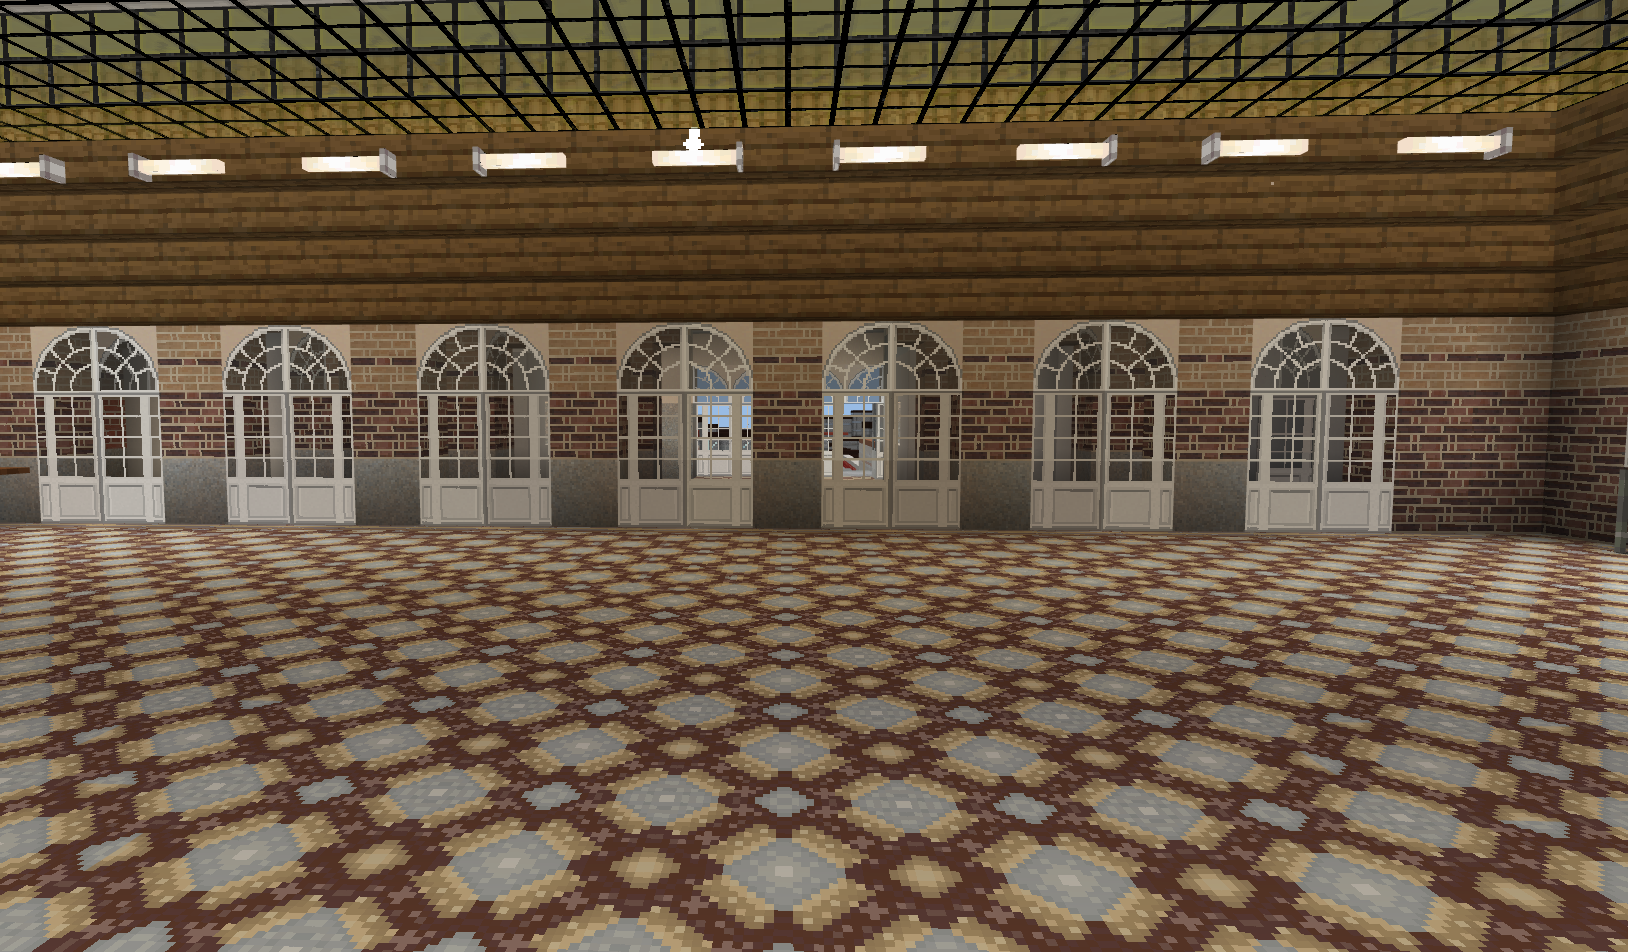
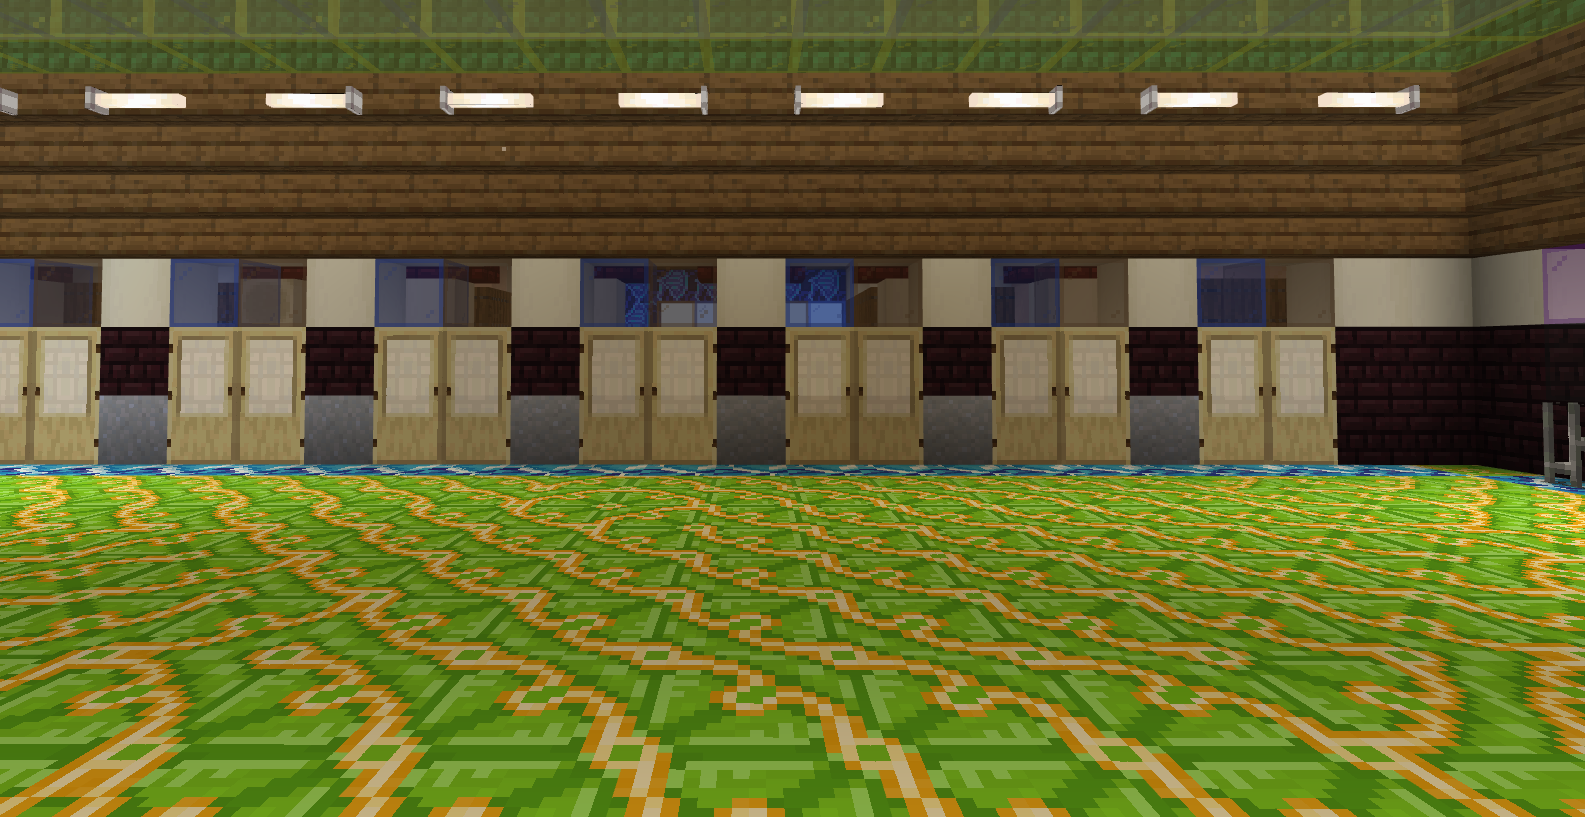
Students were extremely engaged and focused during the sessions, which allowed us to achieve a satisfactory result in a relatively short amount of time. The skills developed were varied: materials, architecture, scale work, and, of course, teamwork and cooperation.
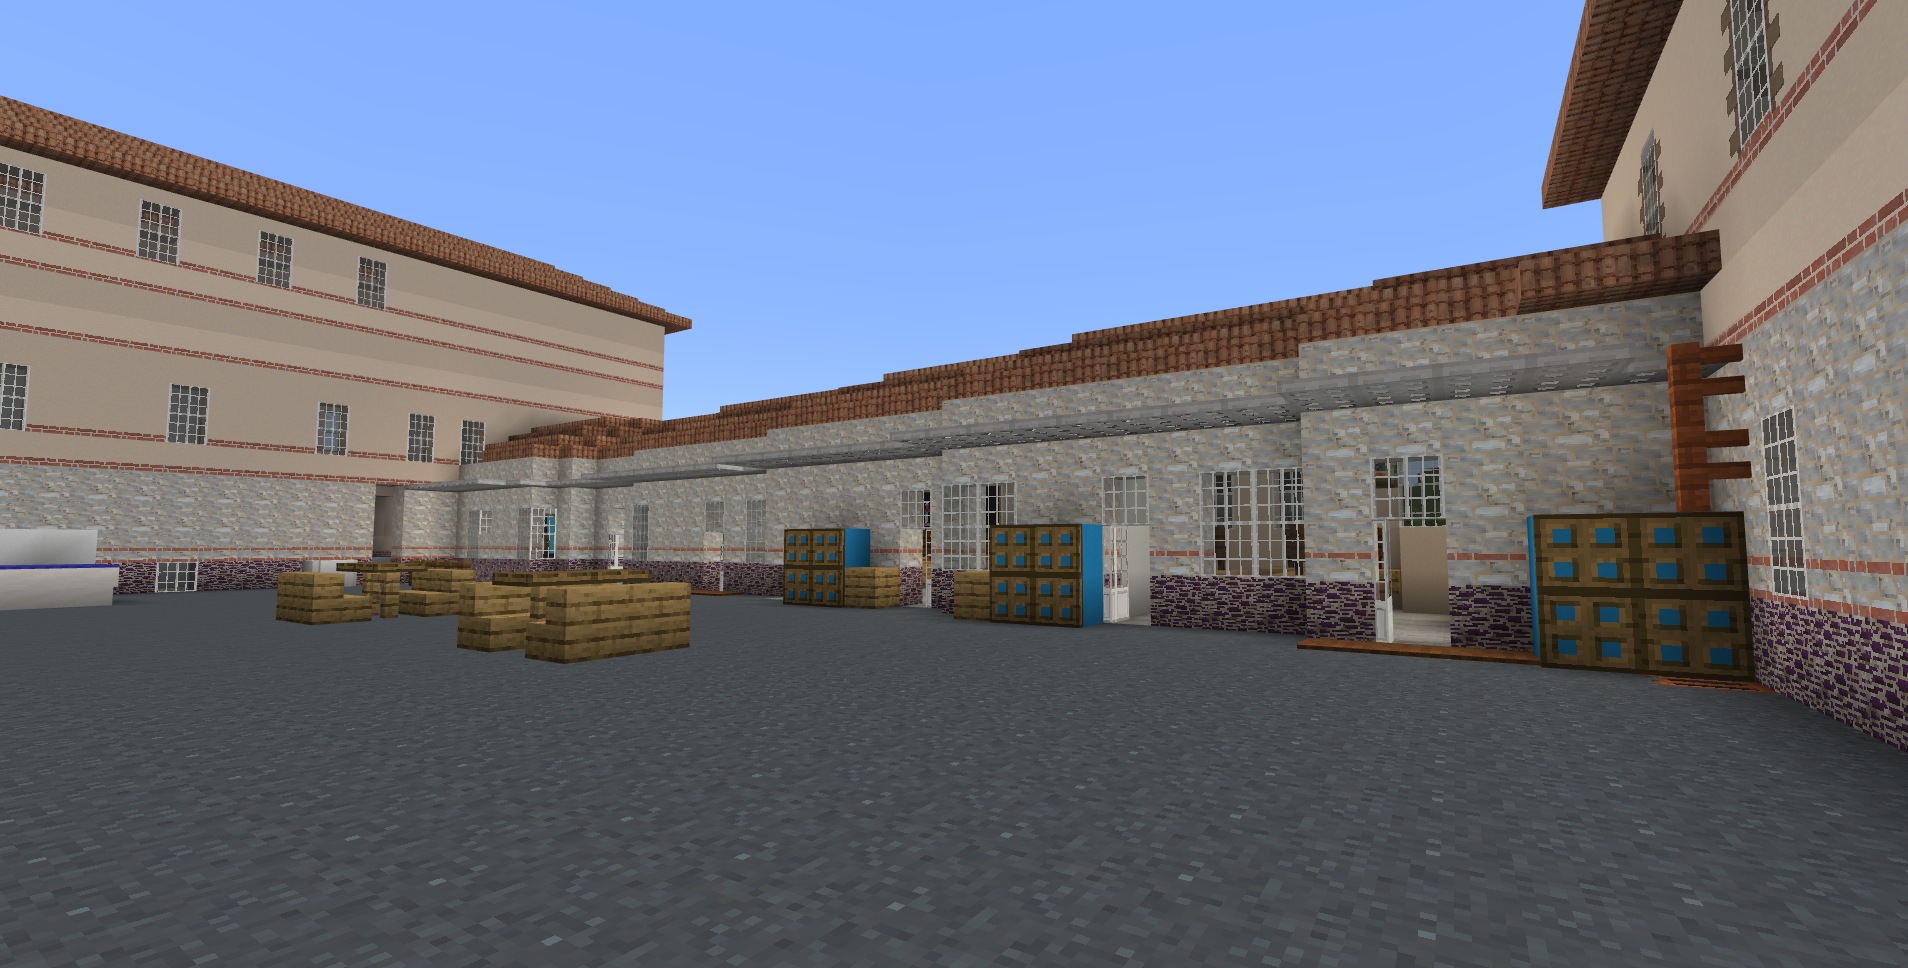
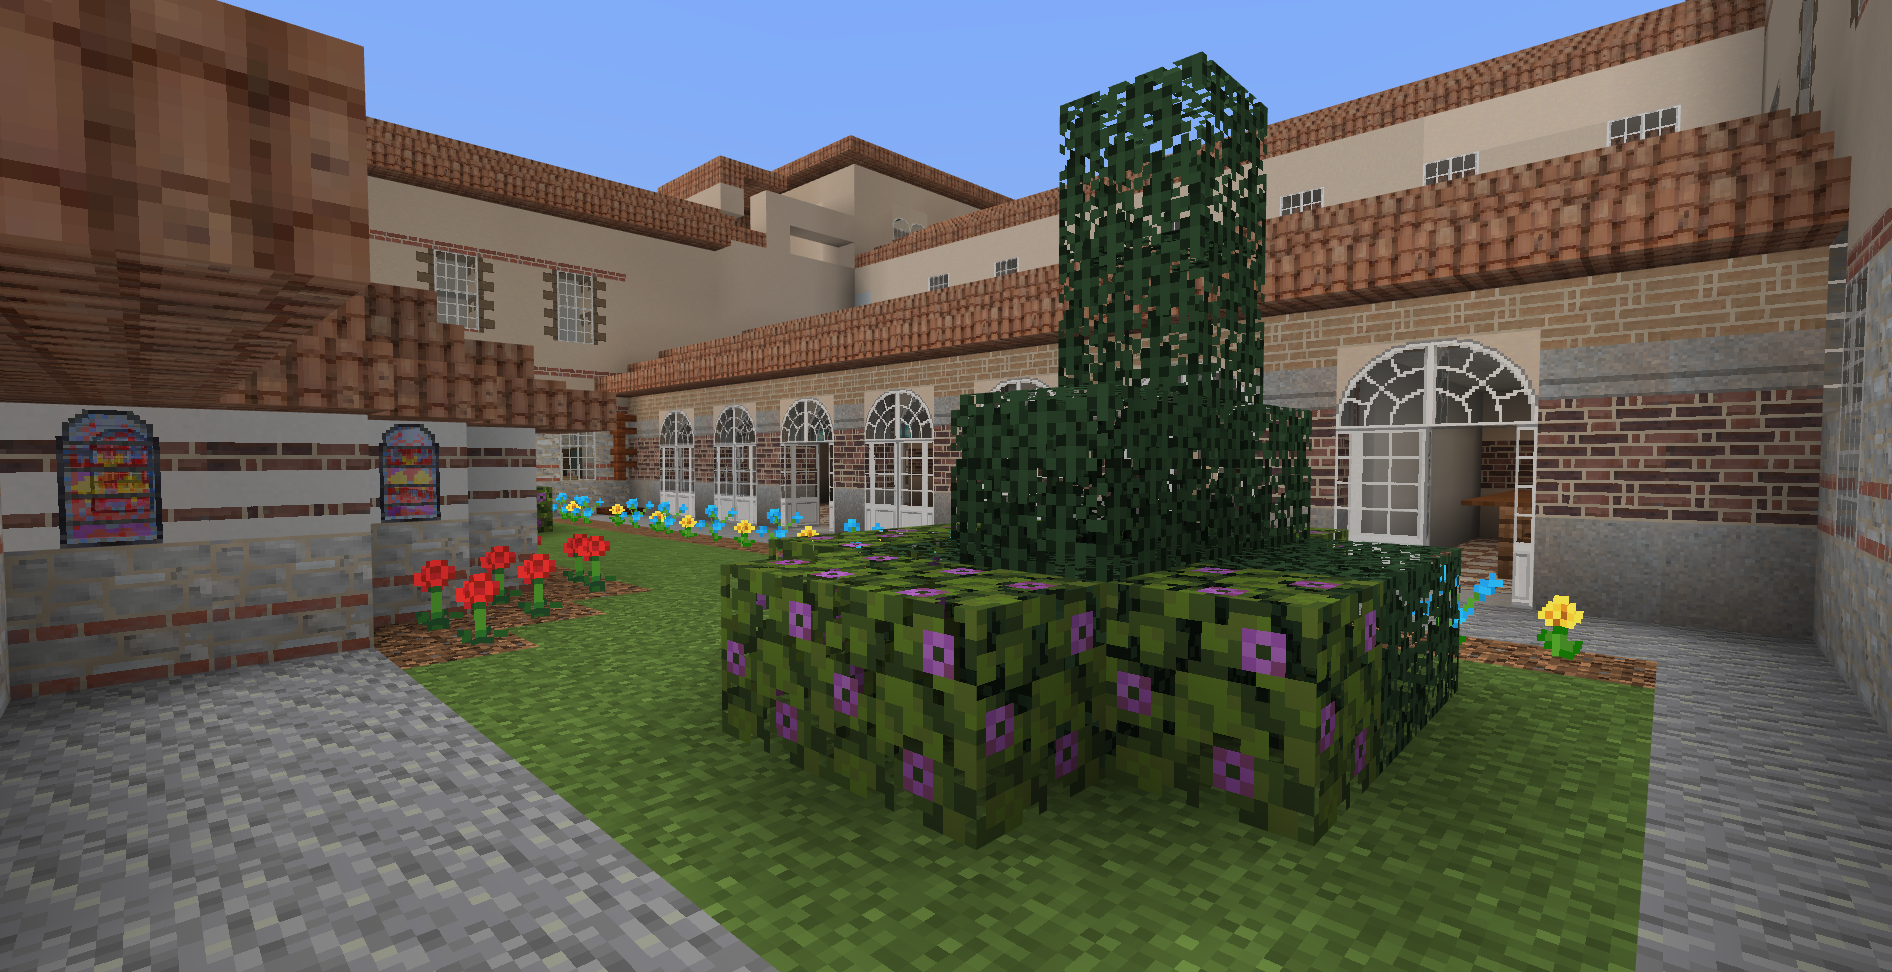
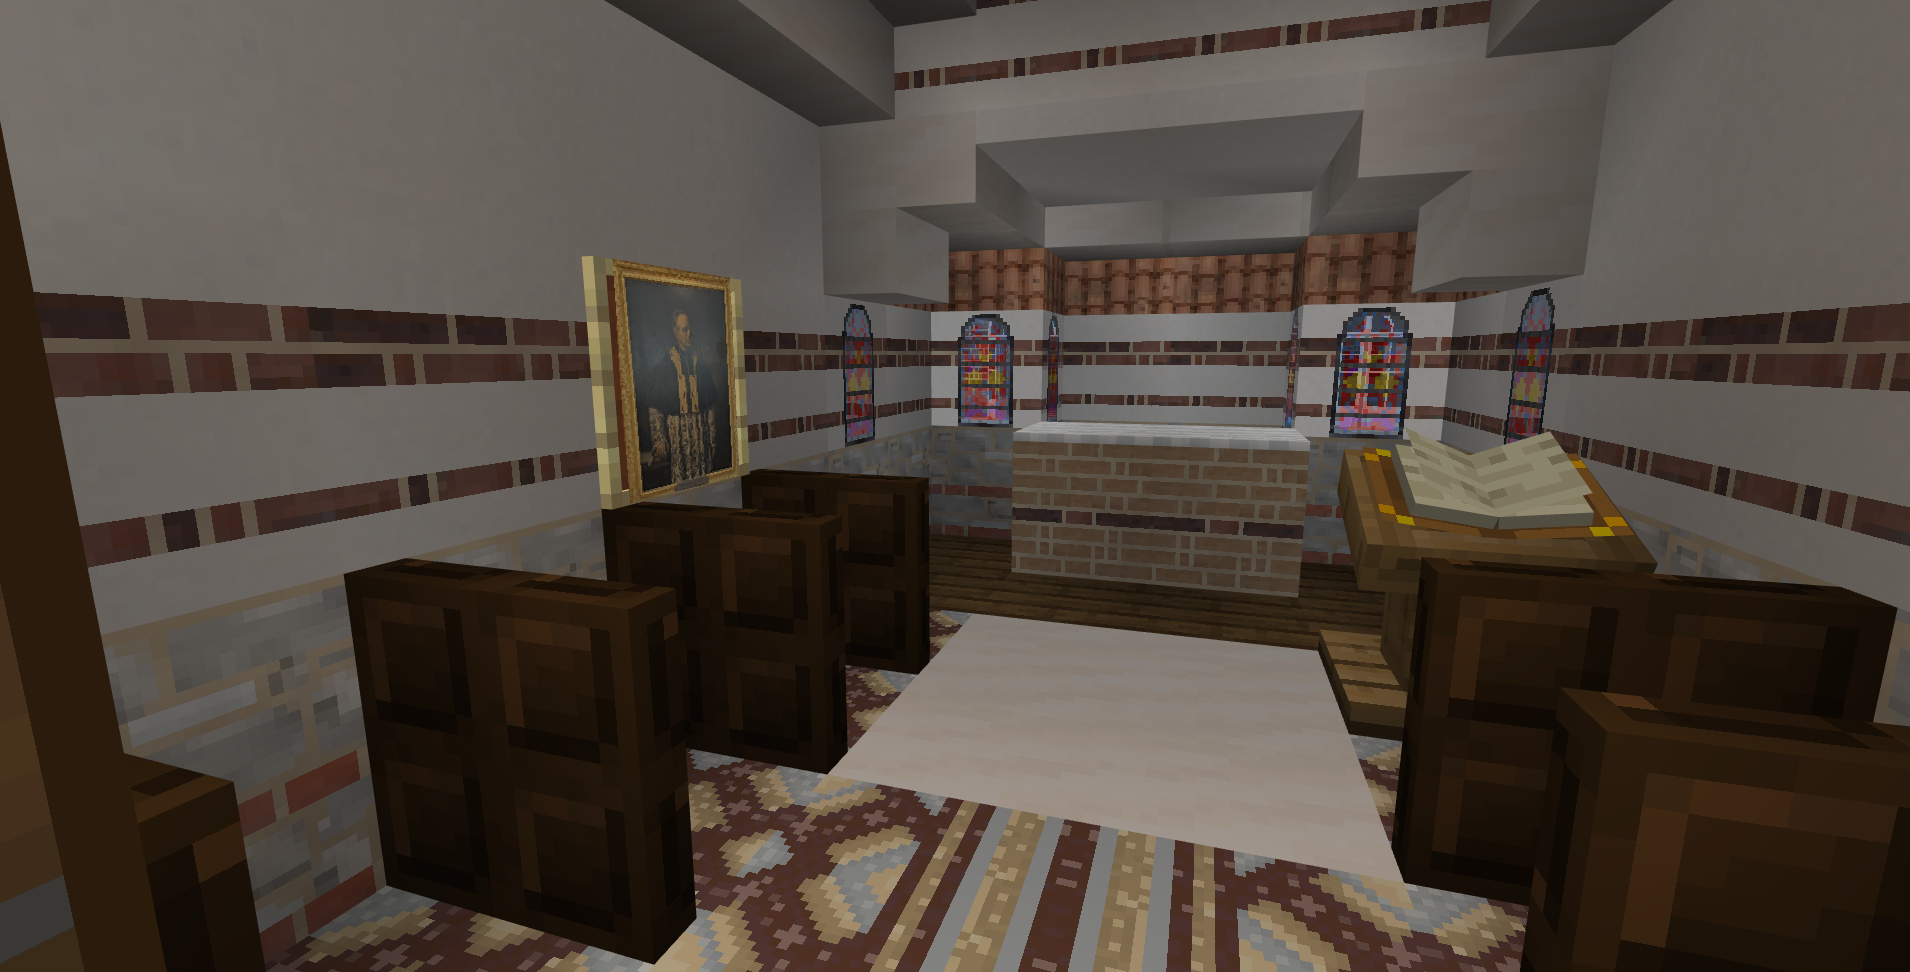
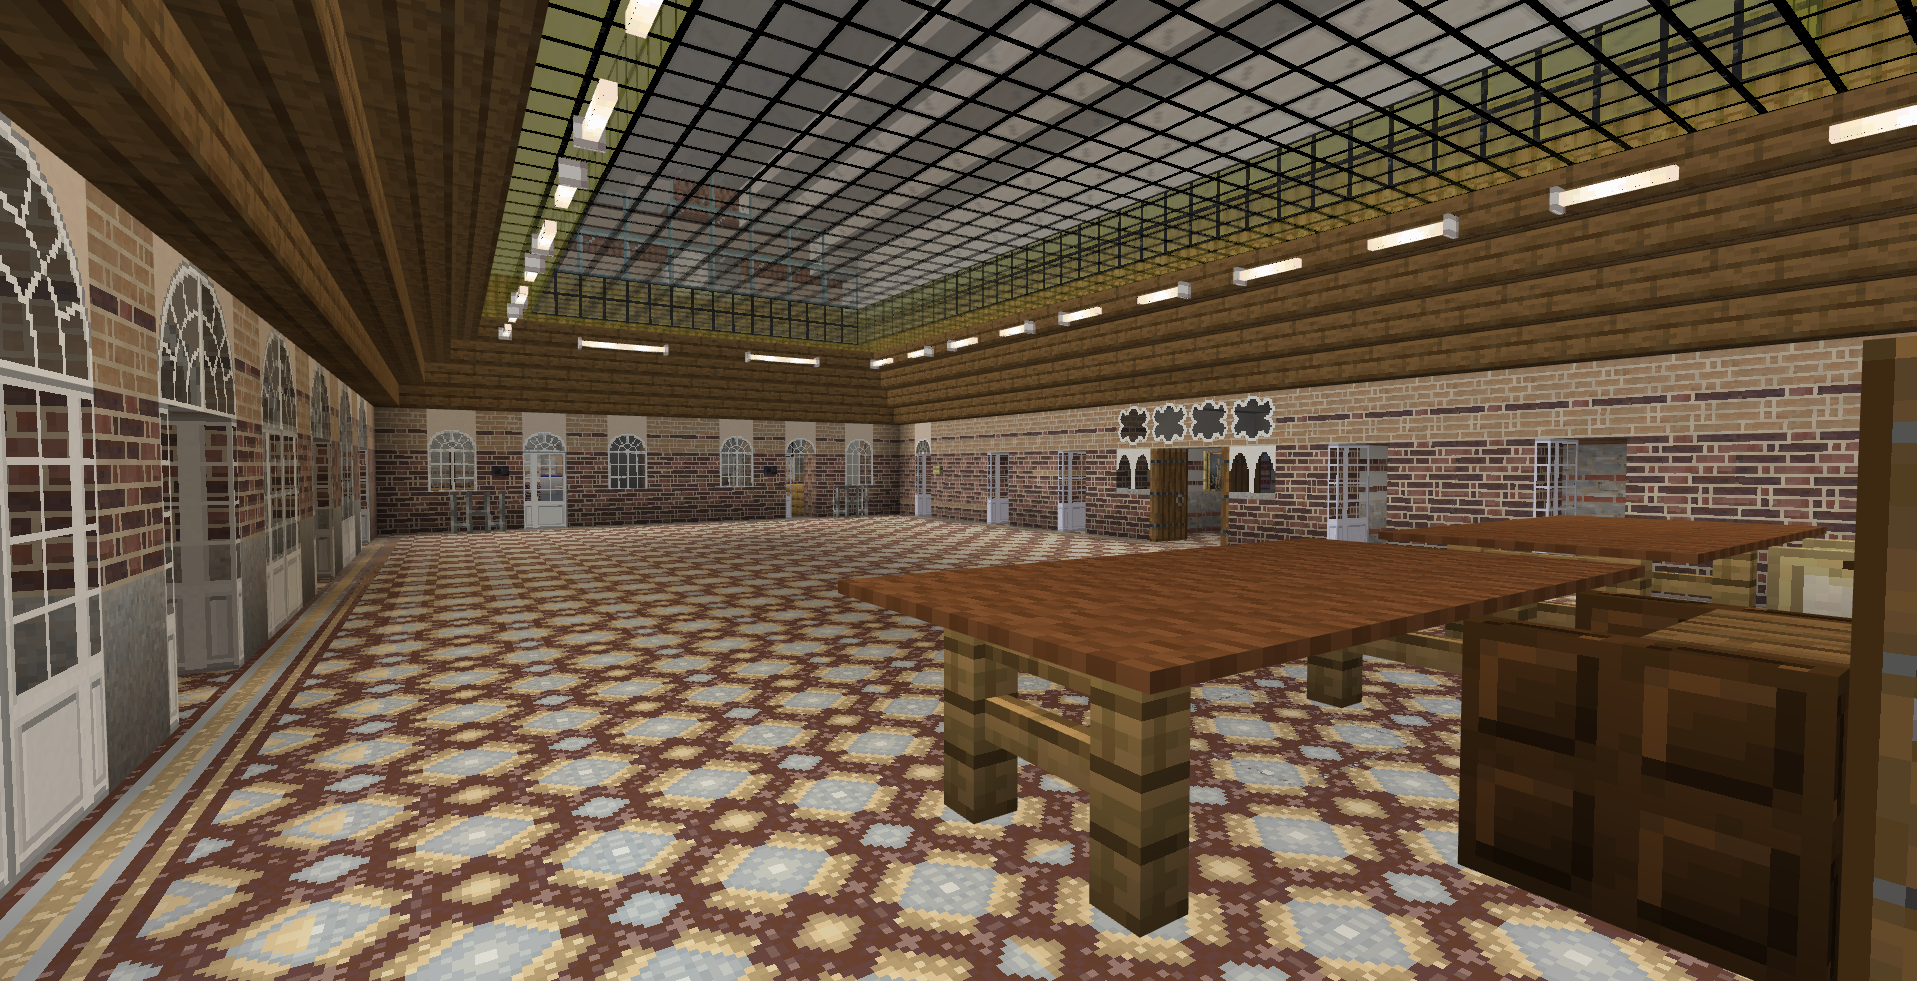
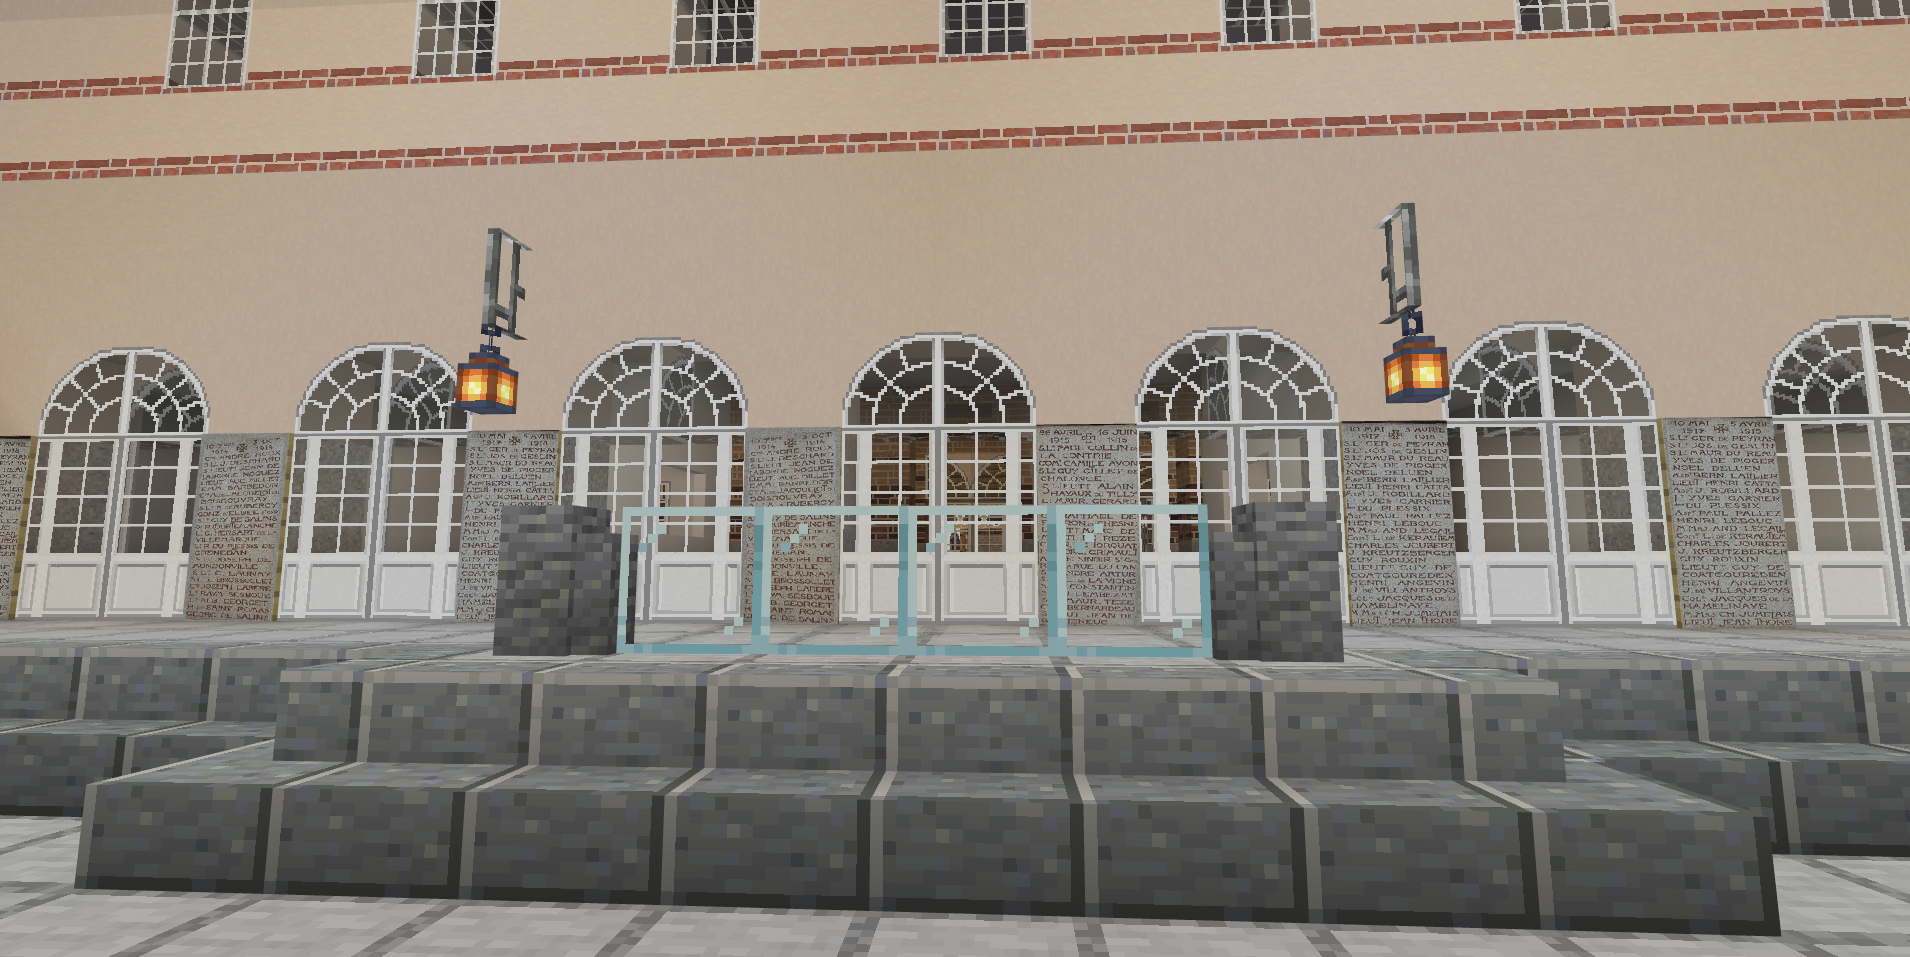
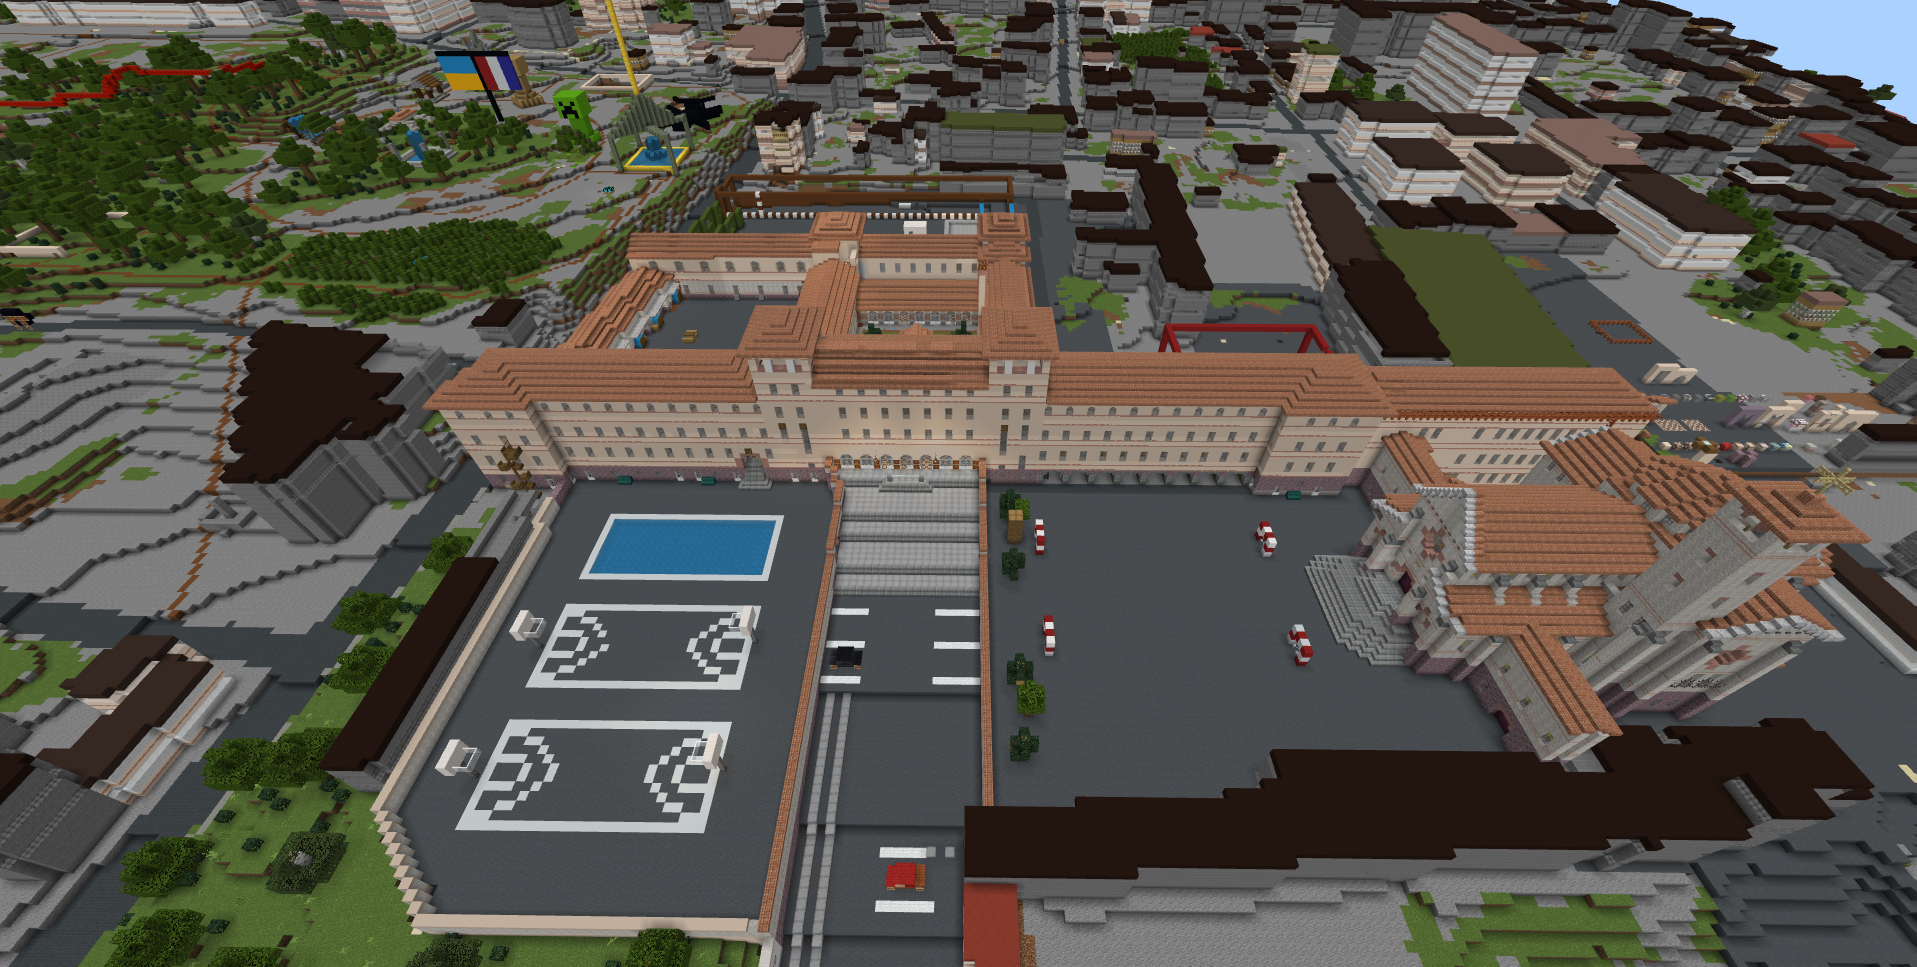
Final Result in Images